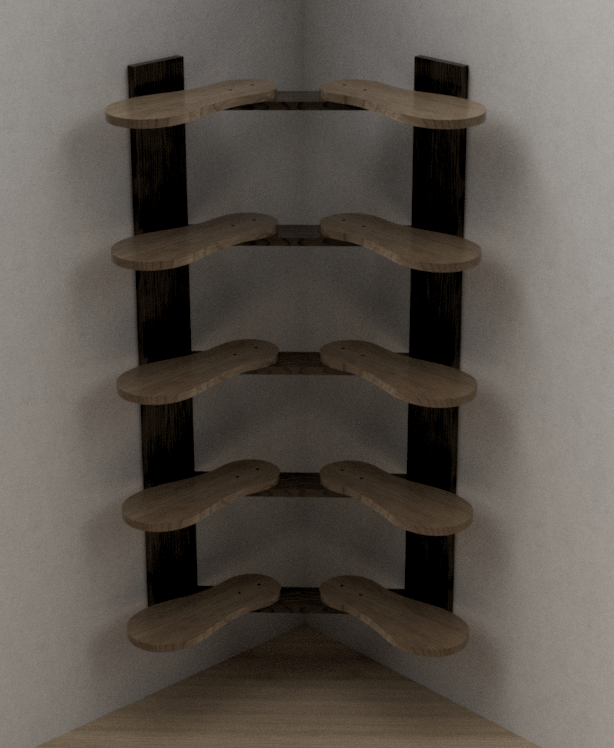
Here is a render of the shoe shelf design. This was done using Fusion 360 software.

Here is a render of the shoe shelf design. This was done using Fusion 360 software.


The CAMaster Cobra 508 has arrived! And I have a helper.

In this post I will describe some of the work we did while building a 10′ x 10′ deck for the little house on the hill.
Because the house is on a rather steep hill, even getting to the front door was a challenge. Having a nice deck to sit on goes a long way to making it a wonderful little spot to spend time.
It all started with digging post holes. Rocky soil, on a hill, with hand tools makes for a lot of work. Once dug down to 2-3′, we fixed them in place with Fast Set cement. Poured it in dry and dumped some water on it. Super convenient.

Once the posts were in place, we leveled and screwed on a frame made of 2×10 and 2×8 treated lumber.

Keeping the workplace neat.

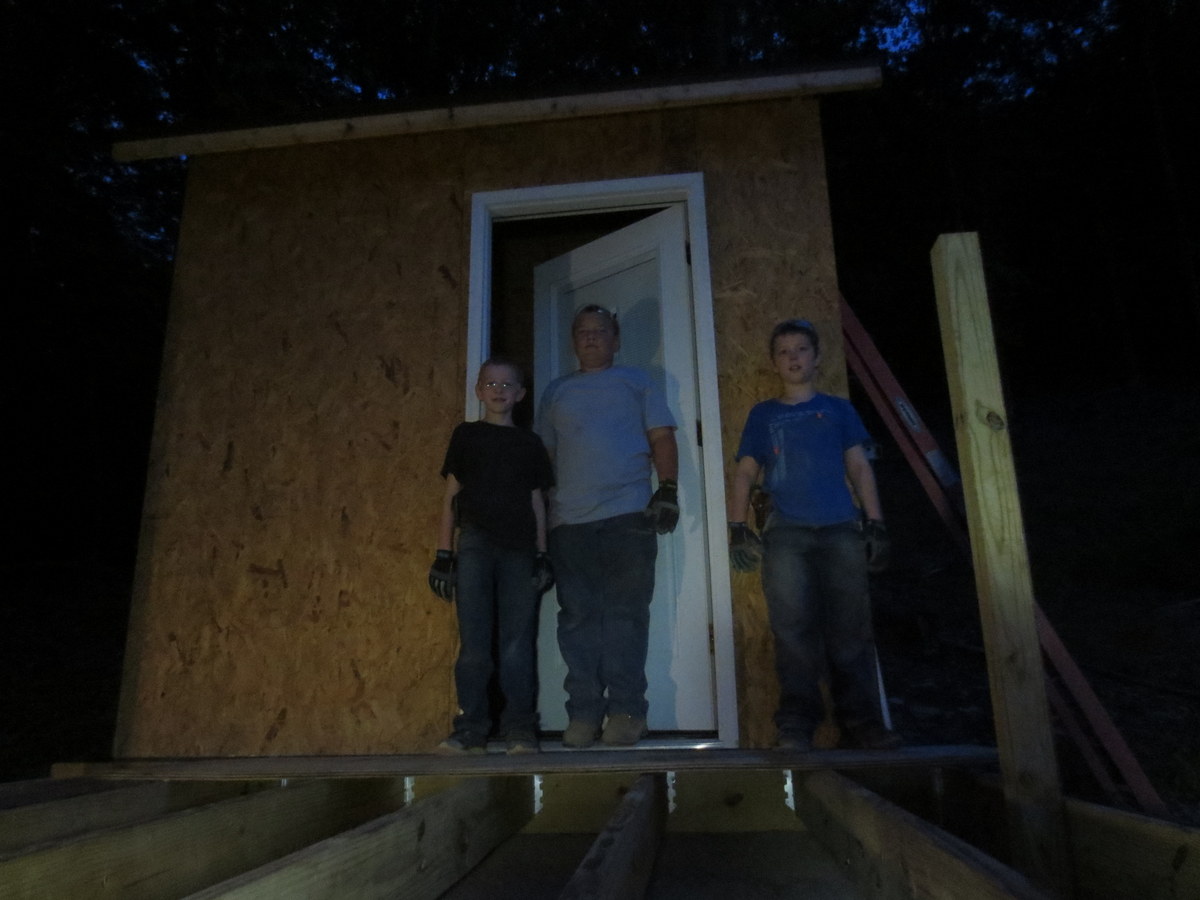
Working into the evening on the framing. Having 3 surefire flashlights handy makes this possible, even convenient.
Because much of the deck load will rest on the front member, and even more so because groups of people tend to converge at a railing, we made this from doubled 2×10 lumber.

Here we are installing the decking. Rather than going with standard decking lumber (5/4″), we opted to go with 2×8 lumber. It was only a few percent more expensive, and far stiffer.

Good workers hard at work.

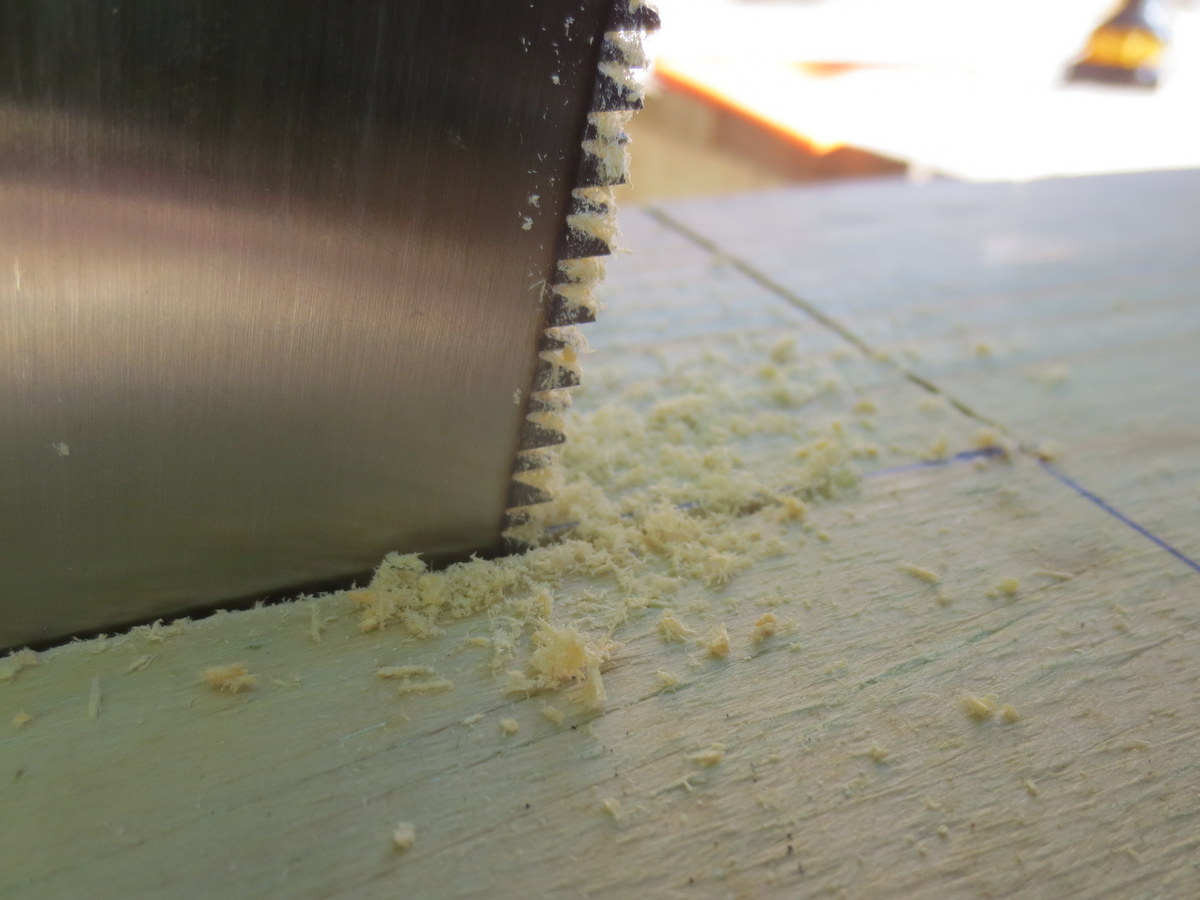
We used a hand-saw to cut notches out of the end of the 2×8 flooring lumber where it (would have) contacted the 4×4 upright posts. We live in a culture that thinks “power tools” for most things, but sometimes the hand-tools are the best for the job.

A close up of the hand-saw approaching the end of the line.
Notice that Eli (center) has hearing and eye protection? This is because he was running the impact driver installing all of the screws in the decking. There were hundreds and hundreds of screws to install.

Here is a view up the hill.

A very clear but warm day.

We made the railing with 2×6 lumber. The top part of the railing had a 2×6 on the face of the upright supports as well as a 2×6 cap on top. This resulted in a very strong (up/down and forward/back) railing that is convenient for setting drinks, etc… on.

For this project we elected to use Torx head exterior screws. Coupled with a Dewalt 20v max impact driver, the 3″ screws made their way through treated lumber like a hot knife through soft butter.

Wrapping up. Just need to finish screwing the decking down and add the top-plate to the railing.

The view out the front door. Nice.

“A place for everything and everything in its place”
http://www.phrases.org.uk/meanings/14400.html
It is an ongoing chalenge to find a proper place to keep everything. But in that lies the key to being organized. It is fairly easy to put everything away when everything has an “away” to be put into.
In an effort to implement that, we decided to use an otherwise useless corner of the dining room to make shelves for bins and books. Rubbermaid makes some really nice bus boxes which are sold at Sams Club. They look like this:

This is one of the few actually nice storage-related items you can purchase nowadays. The quality is second to none. It is an impressive (proper) use of plastic.
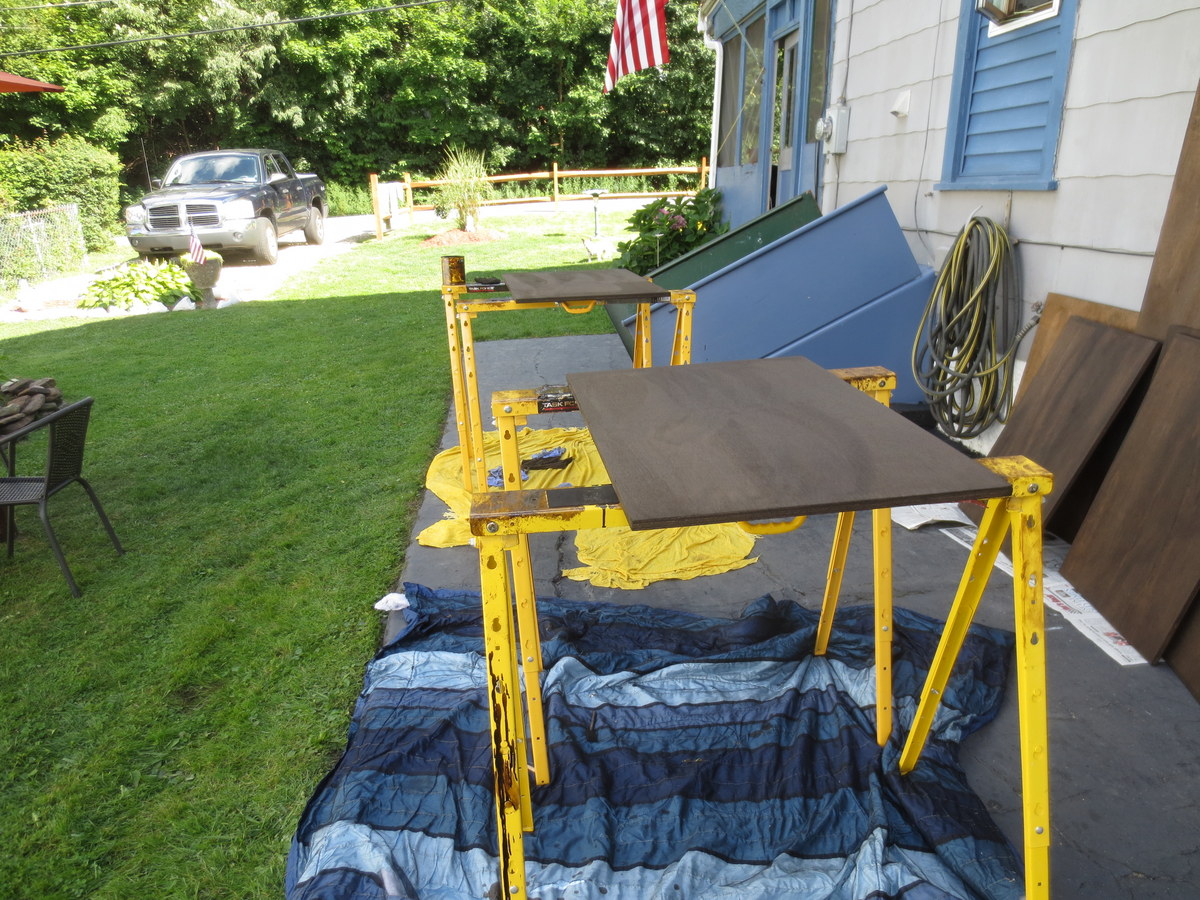
Because I lack a dust collection system, all of the routing and cutting was making the shop too dusty to be in comfortably. So we went outside.

All of the sanding was done by hand (Thank you ELI and EZRA):

The shelves were constructed of 23/32″ SandedPly plywood from Home Depot (about $45/sheet). I ran out of that and used an alternate USA made maple-faced hardwood plywood for one of the shelves. You can really see the difference. We routed a groove for each shelf using an aluminum guide, palm router, and 3/4″ bit.

They were stained with MinWax Espresso stain.
Predrilling really helps smooth the assembly process. Notice the metric ruler? More on that later.

Because the shelves are not designed to disassemble, they were screwed together and then slid into place and screwed to the wall.
And the result was great. As you can see, a secondary bookshelf is integrated to help keep the growing collection of schoolbooks.

And as per the usual tradition at our home, a bit of “alternate” use before we start with the real use:

Today we devised a way to (hopefully) raise the marbles from the bottom of the track to the top using a servo motor. It is rather obvious at this point that we did not plan our initial track high enough and the end of it is too low. Oh well, version 1 is usually that way, right?

Having the need to store a lot of small tools and parts within easy reach, I used a bunch of extra 4″ PVC pipe cut into 11″ lengths and framed with 2×12 lumber.


We recently created this rough prototype toy gun with a removable clip. It’s modeled somewhat after a Glock, but only roughly. The kids love it.

We’ve invented a new board game, and it’s a lot of fun. Stratahex combines resource collection, transportation, logistics, planning, defense, offense, warfare, and more into a simple and easy-to-play boardgame.

The basic game pieces are:
The board consists of 3 concentric circles with a hex-shaped hole pattern. Parts of the board are painted light-gray, medium-gray, and dark-gray.
You can only spend coin once it has been transported back to your base in a supply truck. Each piece costs coin to purchase. You have a limited number of moves per supply-truck and per weapon each turn.
Stratahex is a very comprehensive, but still simple, game to play. The older kids, 8 and 10, have no trouble. There is a lot of figuring, math, counting, and changing coin.
Gameplay is predictable, like chess, in that you can determine the possible moves of the opponent before his next turn. There is no luck involved.
Plenty of fun!
The very same evening we got our tools and supplies OFF the work table and ON the new shelves, we decided to build something, in this case, a nice shelf. Here is a picture of the kids hard at work.
Safety first!
 k
k
