Here is a video of our CAMaster Cobra 508 ATC CNC Router cutting hardwood plywood for a Ballista.

Here is a video of our CAMaster Cobra 508 ATC CNC Router cutting hardwood plywood for a Ballista.
“A place for everything and everything in its place”
http://www.phrases.org.uk/meanings/14400.html
It is an ongoing chalenge to find a proper place to keep everything. But in that lies the key to being organized. It is fairly easy to put everything away when everything has an “away” to be put into.
In an effort to implement that, we decided to use an otherwise useless corner of the dining room to make shelves for bins and books. Rubbermaid makes some really nice bus boxes which are sold at Sams Club. They look like this:

This is one of the few actually nice storage-related items you can purchase nowadays. The quality is second to none. It is an impressive (proper) use of plastic.
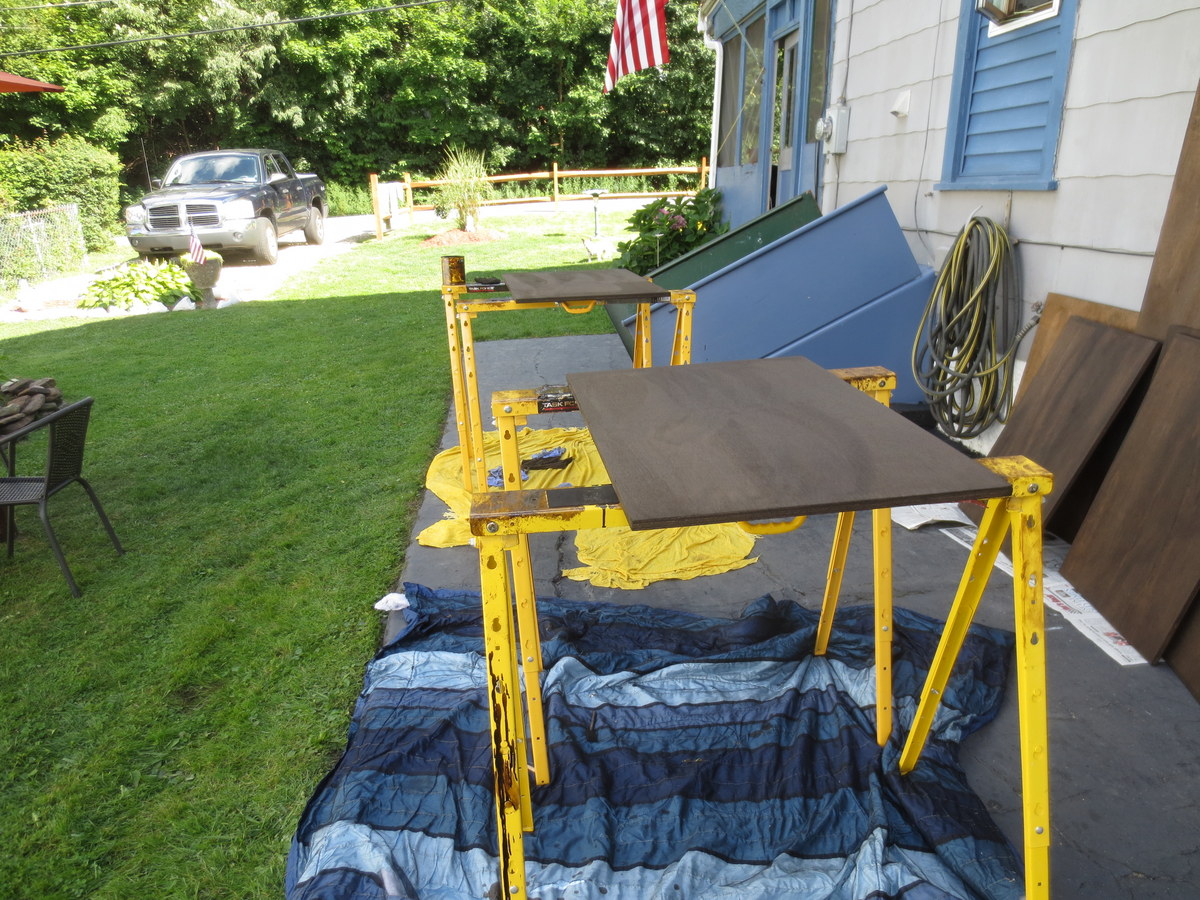
Because I lack a dust collection system, all of the routing and cutting was making the shop too dusty to be in comfortably. So we went outside.

All of the sanding was done by hand (Thank you ELI and EZRA):

The shelves were constructed of 23/32″ SandedPly plywood from Home Depot (about $45/sheet). I ran out of that and used an alternate USA made maple-faced hardwood plywood for one of the shelves. You can really see the difference. We routed a groove for each shelf using an aluminum guide, palm router, and 3/4″ bit.

They were stained with MinWax Espresso stain.
Predrilling really helps smooth the assembly process. Notice the metric ruler? More on that later.

Because the shelves are not designed to disassemble, they were screwed together and then slid into place and screwed to the wall.
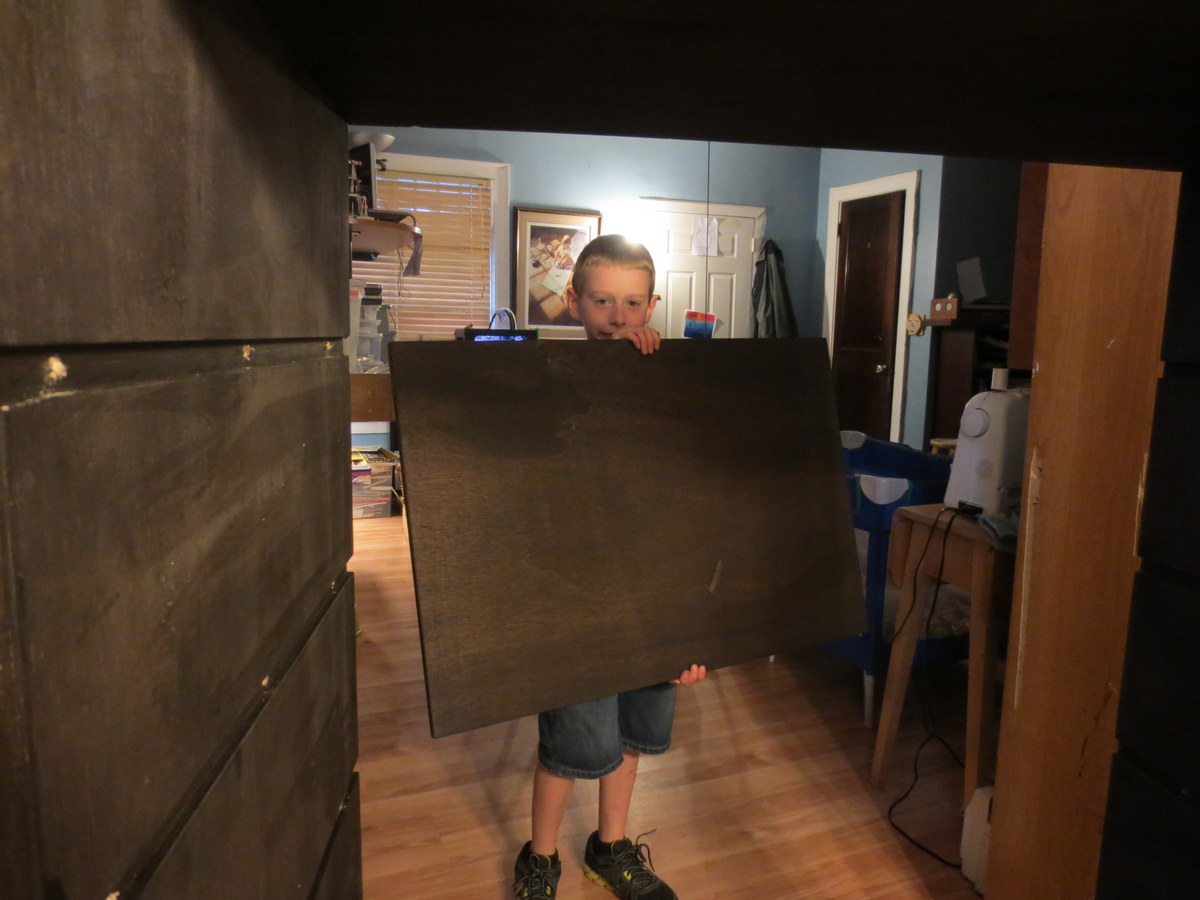
And the result was great. As you can see, a secondary bookshelf is integrated to help keep the growing collection of schoolbooks.

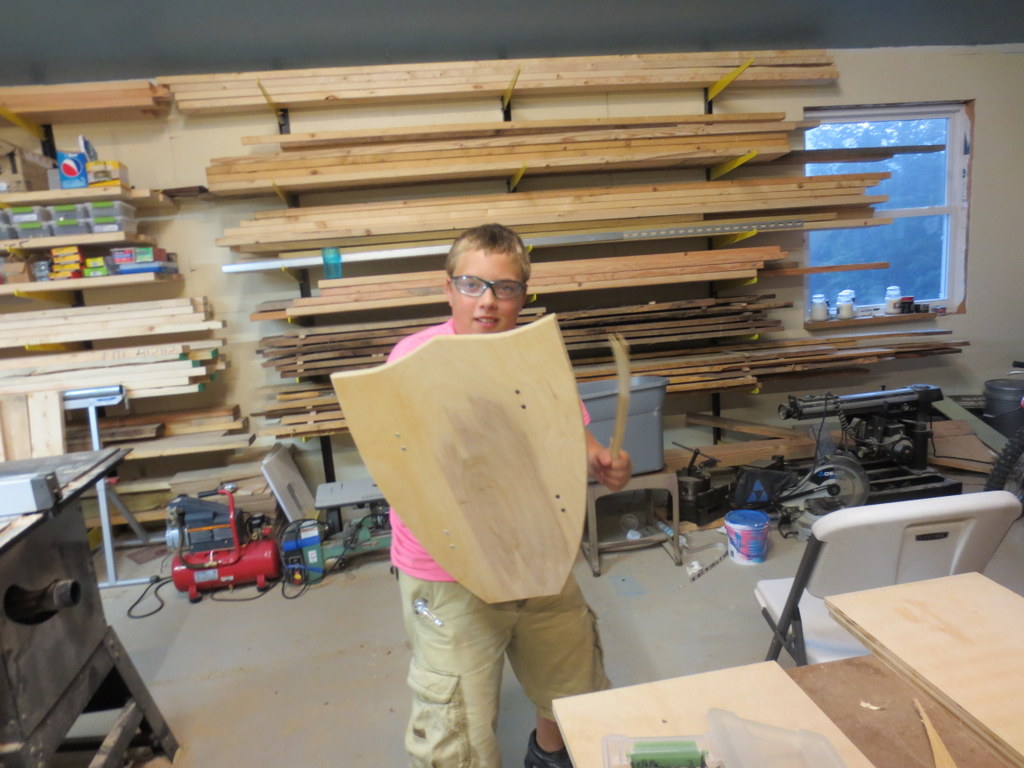
And as per the usual tradition at our home, a bit of “alternate” use before we start with the real use:

We made a wooden shield out of 3/4″ hardwood plywood. To get the perimeter, we bent an aluminum bar into the shape of one side, and then used it to trace both sides, making it symmetrical.
We softened a section of 4″ PVC pipe and flattened one side. After plenty of sanding the endges, we screwed it to the back of the shield with 3/4″ screws.
We cut the handle out of a section of 2×4 on the bandsaw, routed, and sanded it smooth. Here are the pictures! All done but a coat of gold or silver paint.


Ezra brought me a piece of plywood today with pencil marks drawn all over it. That is where he wanted it cut. So I ripped it on the table saw and cross cut it on the compound mitre saw…
I gave him a little help laying this out, showed him how to clamp it, and then he went to town drilling 1/16″ holes and pounding finishing nails into it.
Only 2 breaks in the drill-bit, which isn’t bad for such a small bit and a 7 year old.
It turned out nice! We’ll put a lid and hinges on it soon.


