Old hand forged nails

We have some old hand forged nails. The nails were made by a blacksmith.

IMG_7174

We polished them with a Dremel tool using a wire brush.  Did you know that a Dremel tool can spin 500 times per second?  Wow.  We wore safety glasses to protect our eyes.

IMG_7172

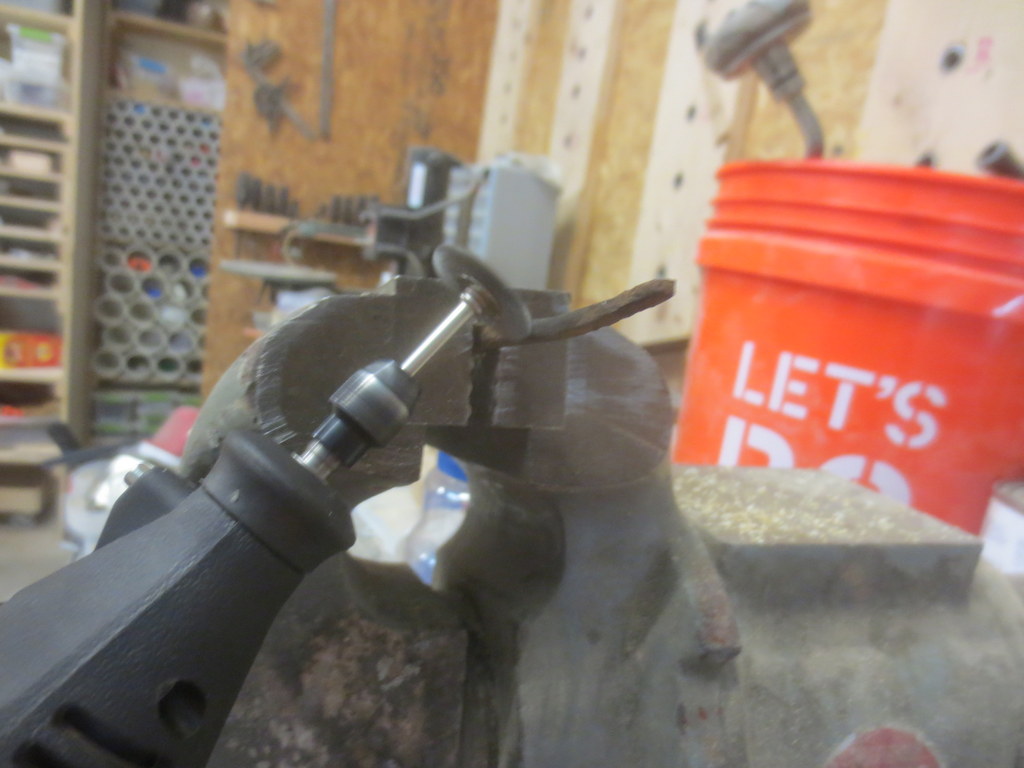
Here is a polished nail.

IMG_7177


Here are some facts on old nails.

  • Old nails were once so valuable that when a building burnt or fell down people went through with magnets to find the nails and save them.
  • Nails provide one of the best clues to help determine the age of historic buildings, especially those constructed during the nineteenth century.
  • Between the 1790s and the early 1800s, various machines were invented in the United States for making nails from bars of iron.


Here is the a chart for nails. (Copyright Thomas Visser)

nails


You can read more about it here: http://www.uvm.edu/histpres/203/nails.html

That is all for now!


References:


Making a punch; heat treating tool steel

About Tempering Metal  (how I explain it to kids):

The little metal guys normally stand at attention in rows — millions of them (molecules).  When you heat them up red hot, they start dancing and get all mixed up and out of order; not in rows any more.  When you cool them down, they get back into nice neat rows.

However, when you cool them off really fast by dipping in cold water, they get frozen before they can get back into nice neat rows!

If the metal guys are in nice neat rows, and you push on a row really hard, they can all move sideways.  But if they are all mixed up, it’s hard for them to move any way.  

This makes the metal really hard.


As part of Ezra’s box project, he needed to countersink the nails into the plywood.  I should have one, but I don’t have a countersink handy that would do the trick.

So we made one!

1/4″ diameter W1 tool steel rod (water hardened) was cut down to about 3.5 inches long.  Being that I don’t have a metal lathe, I improvised by chucking the metal into my drill and grinding it on the grinder – while spinning.  This resulted in a fairly uniform (albiet scratched) conical point.   We wire brushed it a bit on the grinder to smooth it out, and then took it over to the other side of the shop for heat treatment.

This casual approach to tempering worked well for our purposes.  We heated the metal red hot (just the end) and dunked it in cold water.  Then we polished it up a little bit.

In informal tests, this made it REALLY hard.  If I placed a nail against the top end and banged it, it would scratch the punch.  If I placed a nail agains the bottom (hard) end and banged it, it would flatten the nail without even marking the surface of the punch.

Also, the punch would reliably put small holes in a cast-iron vice and other metal without any noticeable deformation.  Nice!

Here is the pictures:

(Fire extinguisher was about 2 feet to the left, in case you were wondering!)


(Ezra) making a wooden box

Ezra brought me a piece of plywood today with pencil marks drawn all over it.  That is where he wanted it cut.  So I ripped it on the table saw and cross cut it on the compound mitre saw…

I gave him a little help laying this out, showed him how to clamp it, and then he went to town drilling 1/16″ holes and pounding finishing nails into it.

Only 2 breaks in the drill-bit, which isn’t bad for such a small bit and a 7 year old.

It turned out nice!  We’ll put a lid and hinges on it soon.