Making a Candle Holder with the CAMaster Cobra CNC Router

I have been rather impressed with the accuracy of our CAMAster Cobra 508 ATC CNC Router.  Here is a picture of a similar machine:

Cobra-V

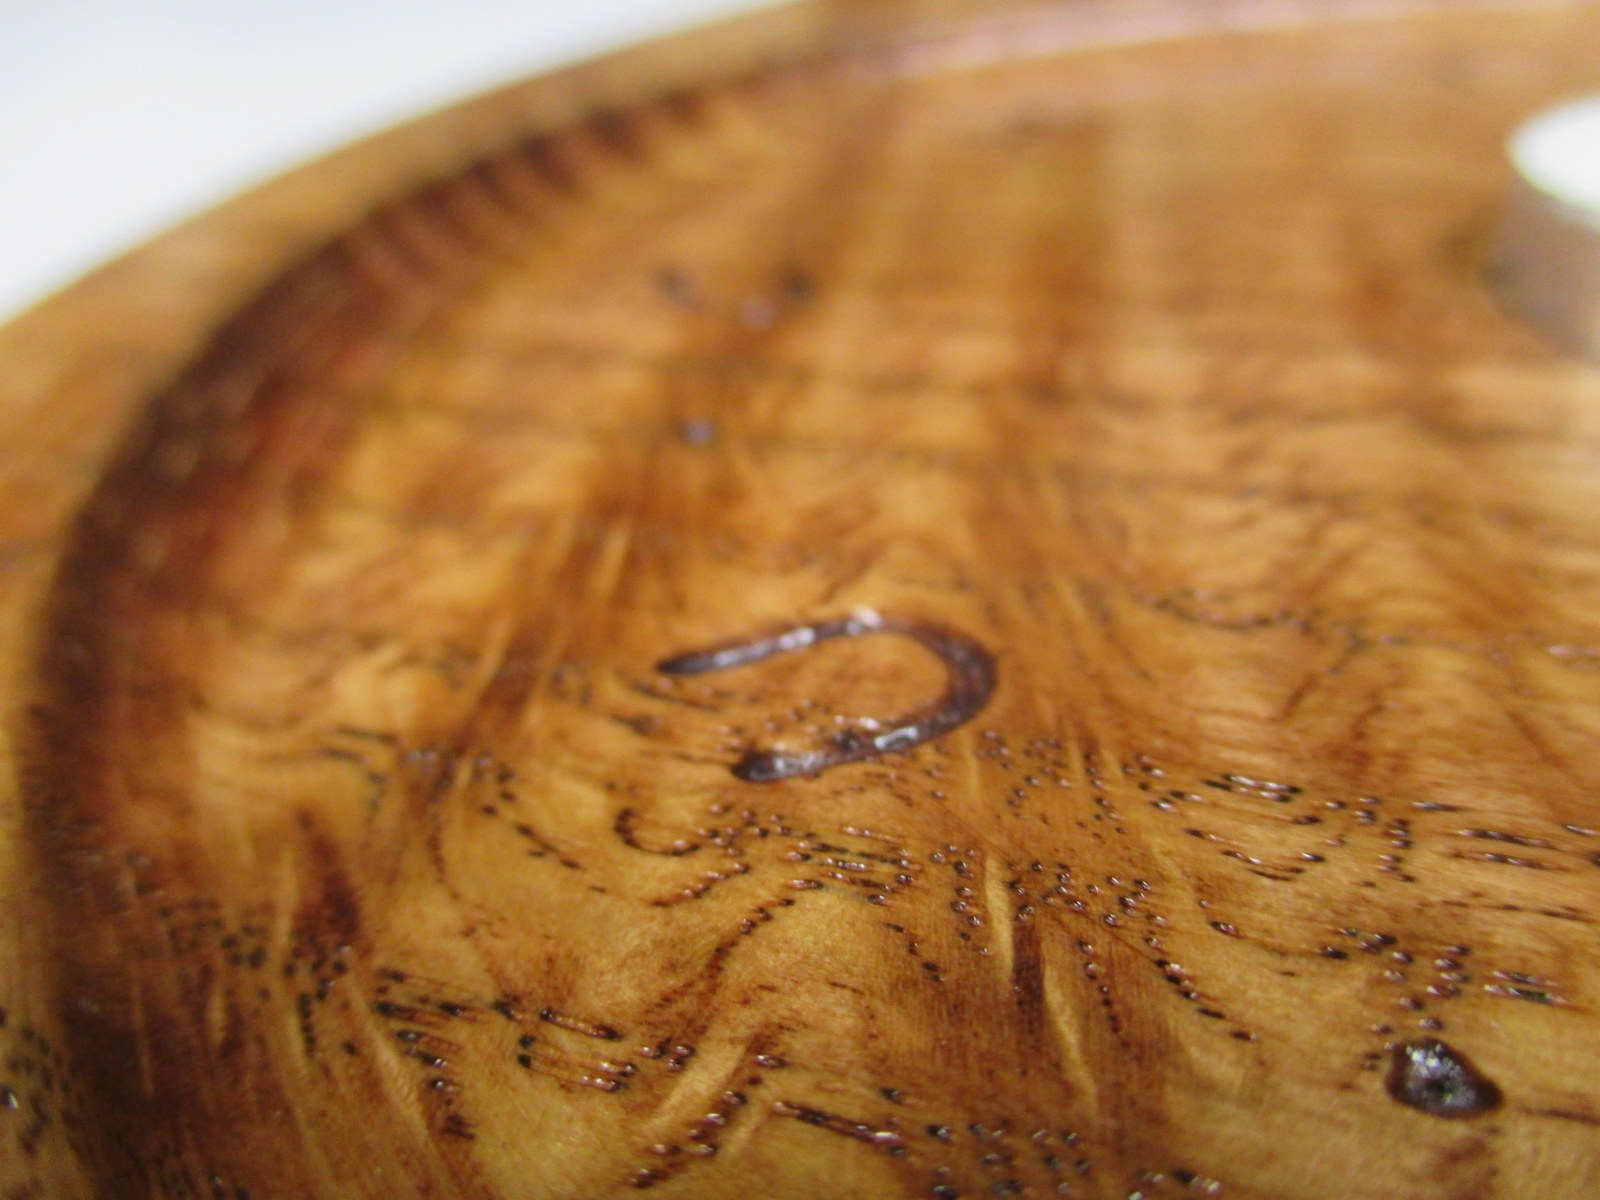
For having a travel of over 5′ x 8′, it still handles the fine details with quite a bit of repeatable accuracy.  I helped to make a candle holder out of a piece of curly oak.  It turned out to be very pretty.

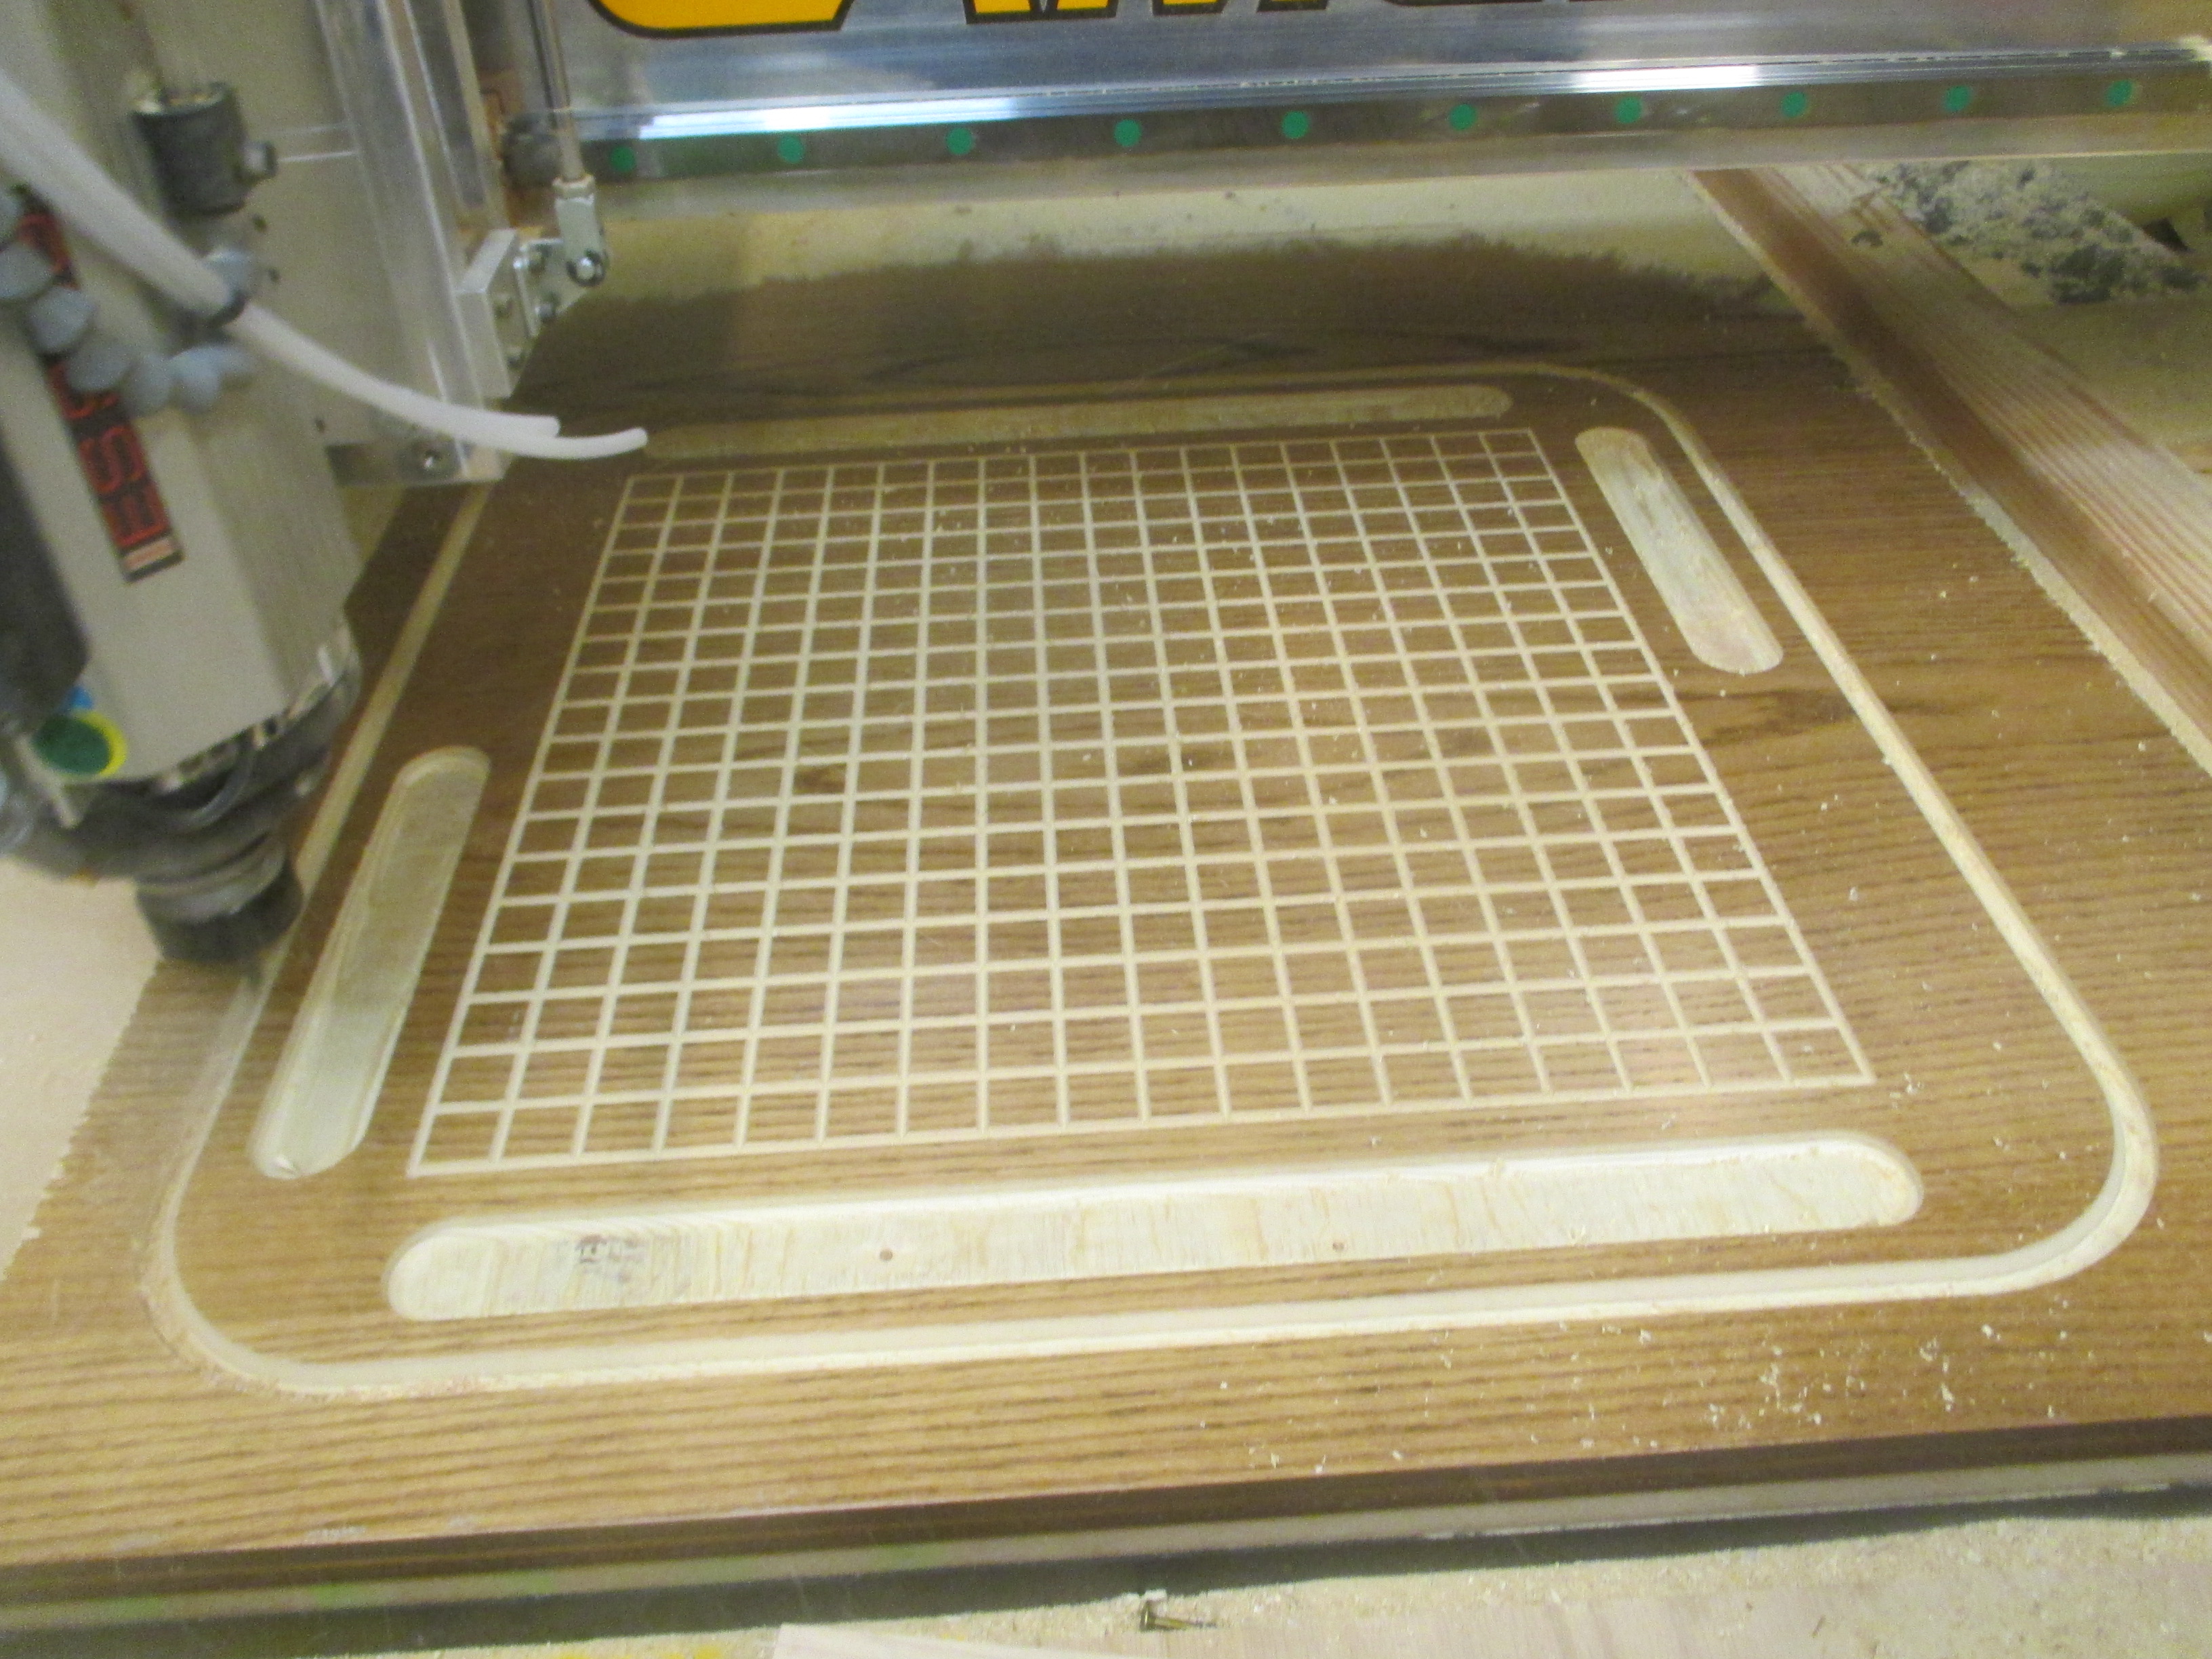
In the following picture, you can see 4 toolpaths.   The large circular pocket (0.25″ deep), the small inner pocket, the radius around the edge of the circle, and the engraving.

IMG_7899

The rest of the project was completed using a bandsaw and conventional tools.  CNC brings a lot to the table (pun intended), but it is more amazing what a craftsman can do by hand.

Did you know that Okuma, who is a manufacturer of state of the art CNC machines, hand scrapes all the seven components of a machine foundation?

From http://www.okuma.com/handscraping:

Unfortunately, there is still no technology available to achieve the geometric precision that hand scraping does. Components need to be aligned within a millionth of an inch. And it’s where that kind of precision is needed that makes it even more critical: your machine’s foundation. The seven components of a machine’s foundation simply must be hand scraped to create ideal flatness, to develop proper oil pockets, and to achieve those tight tolerances.

In the world of CNC routers, we talk in “thousandths of an inch”.  But in the above, they are talking in “millionths of an inch” and “by hand” in the same paragraph.  That is simply amazing to me.

Here are some pictures of the finished product.  The sum of some  of the efforts of man, machine, and nature.

IMG_7926

IMG_7924

IMG_7931

IMG_7923

IMG_7925

Making a Go board

I like the game Go.  Wikipedia says it was invented about 2,500 years ago in ancient China.  You can read more about it here:

http://en.wikipedia.org/wiki/Go_%28game%29

I was eating M&Ms yesterday and realized they would make great Go pieces.  The added benefit is that if you capture your enemy…  yum…  We got some big bags of the colorful candy and sorted them.  Note this is being done on our dining room “chess” table.

IMG_8034

The plans were drawn up using DraftSight CAD (from the makers of SolidWorks).  It looked like this:

2015-01-09 - B130610

I imported that into VCarve Pro and generated toolpaths.  Here is what some of the gcode looks like:

2015-01-09 - B130704

I started by screwing down a leftover piece of pre-finished oak plywood and double-checking some tool measurements.  Here is a picture of the grid being cut with a 90 degree v bit.

IMG_8024

Subsequent operations included using a 0.50″ ball nosed bit for the edges of the pockets, a 1/2″ straight bit for the center of the pockets, a v bit for the outside chamfer, and a 0.25″ carbide upcut bit for cutting the board out.

IMG_8025

Since I lack a vacuum table, I used both onion skinning (a very thin final layer) and tabs (leftover connections you remove with a chisel) to keep the board from moving during cut out.

IMG_8026

Here is a closeup of the grid.  I need to understand a bit more about feeds and speeds with v-bits because of the very small diameter at the tip of the bit.

IMG_8027

Here is a close up of the orange side during game play.

IMG_8032

And finally a view of all-out-go-combat from above.  I think orange is winning, don’t you?

IMG_8036