Stain Dipping Machine Cable Winding Pulley

The cable winding pulley was the most complicated part of the machine due to it’s multiple set screws, flat surfaces, precise bore, and threading.  One set screw holds the pulley on the shaft.  The other set screw holds the cable firmly attached to the pulley.

20180714_190920

Here is a picture of the pulley mounted to the DMM Tech Servo Motor.  In the background you can see the cable go up through the top of the machine, over the free pulley, and back down to hold the main slider mechanism.

IMG_2388

Stain Dipper Machine – Lathe Work

In the Stain Dipper Machine, we have a top pulley which is mounted on a 10mm shaft that is seated in 10x26x8mm bearings.  In the last post on this topic, I showed the pulley holder assembly.  In this post I’ll show the pulley and the final assembly.

Here is the finished pulley, made from a 1″ long by 1.5″ diameter piece of brass.

IMG_2253

Here is the pulley mounted on the top of the machine.  This is a satisfying point in the project because of all the ways this could have been solved, we chose an elegant, smooth, and accurate one.  You can’t buy this specific part anywhere in the world – we designed and made it just for this purpose.

IMG_2255

Here is a picture of tapping the pulley for a M5 set screw.

20180713_000439

This is a picture after the first operation was complete.  Now we need to turn it around in the lathe, recenter it, and finish the other side.

IMG_2247

Here is a picture of the part in the lathe.  Notice the difference in surface finish?  The shiny area is freshly cut.  The dull area was original surface.  The semi-dull area was shiny just an hour before, but oxidization got to it that quickly.

IMG_2248

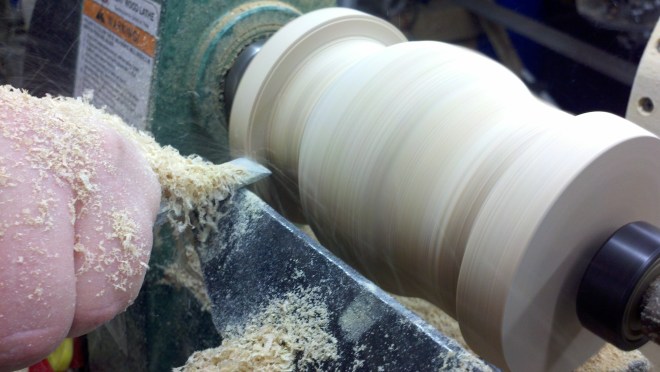
A view of the spinning 4-jaw chuck and quick change tool post.

IMG_2234

Shave a bit here and there.

A friend of mine needed a bushing assembly for his street bike to be reduced in width by about 0.230″.  Having a 1930’s South Bend Lathe in my shop, I naturally said “come on over”.

My respect for machinists just went up a few notches (it was already high).  I’m also glad I got a 4 jaw chuck for the lathe instead of a 3 jaw.

4-jaw chucks allow you to hold irregular work and precisely center it. The process for doing so can be tedious, but it’s a good feeling when your indicator reads in at less than 0.001″ variance from side to side.

This little project was fun for a few reasons.  The assembly comes apart into several pieces.  The little ring has multiple inner diameters used for different things, so it needed to be machined carefully on both sides.  Holding small and irregular parts is a challenge.  But seeing it all come together was great.

20170712_224616.jpg

20170712_213227.jpg

Cleaning our South Bend Model A Lathe

Cleaning our South Bend Model A Lathe

Our South Bend Model A Lathe was rather stiff when we started working with it but we have been cleaning it up a lot since then.  Now it is running very smoothly by hand – we still do not have it under power yet.

IMG_6739

WD-40 has been a great cleaning agent.  It cuts through old dried up oil really well.   There was a slight bit of rust on the ways, so we used some steel wool and very fine-grit  sandpaper (400 grit) to clean them up.

IMG_6741

Basically it boils down to a lot of time and “elbow grease”.  Thanks to Ezra, it is looking a lot nicer now.

IMG_6740

That is all for now!


A new chuck for the South Bend Model A Lathe

After we got the South Bend Model A lathe setup and started cleaning it up, we discovered that we needed quite a few different parts to make it complete.   One of these is a chuck.

I’ve heard it said that if you can only have a single chuck, make it a 4-jaw chuck.  So that is what we started with.

This is a Shars 6″ 4-jaw independent chuck from http://www.shars.com/product_categories/view/4111108/4Jaw_Independent_Chucks

IMG_6682


It came with a 1.5 x 8 threaded mounting plate.

IMG_6678

However, when we went to bolt them together, we discovered that the chuck didn’t fit the mounting plate!  How could that be?

A quick phone call to Shars cleared that up.  Apparently (this is common knowledge to machinists, but) we need to turn down the mounting plate to an exact fit.  This ensures that the chuck will run true on our lathe.

IMG_6684

But before we can do that, we need to wire up a motor, and get some tooling, and a tool post, etc…

That’s all for now!