Plain to Pretty: Rubber Band Gun #6 Anodized

Gord over at Gord’s Garage has been busy with home-based anodizing.  It’s some amazing stuff he is doing. I sent him one of the rubber band gun assemblies, and he did an amazing job on it.

In an incredible amount of detail, Gord has written up and photographed the whole process:

http://gordsgarage.wordpress.com/2011/11/21/the-full-monty-part-1/

http://gordsgarage.wordpress.com/2011/11/22/the-full-monty-part-2/

In summary, it went from this mill finish:

To this polished finish:

To this anodized finish:

Amazing!


A new stock for rubber band gun #6

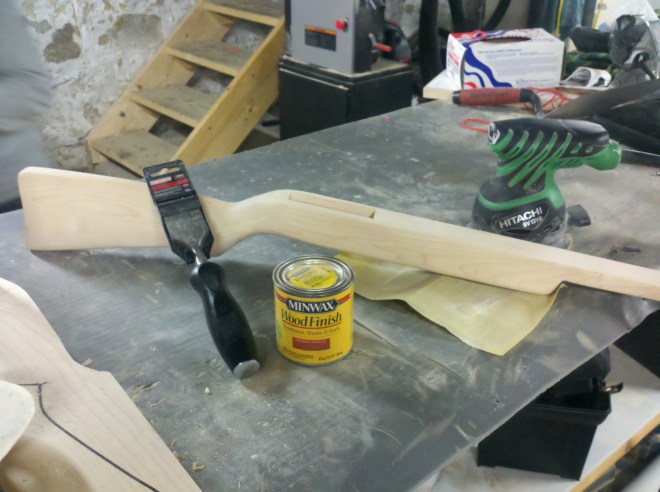
In anticipation of receiving the assembly for Rubber Band Gun #6 from Dixon Tool and Die, Inc., we have been making a new rubber band gun stock to complete the package.

This stock was hand crafted out of solid 1.75″ x 6.0″ x 48″ slab of maple.  The primary tools were bandsaw (for the profile), hammer and chisel, random orbit sander, end mill, jointer, sand paper, and lots of elbow grease.

There is a technique that we implemented called “raising the grain”.  It involves rubbing the wood with a wet rag, and then letting it dry.  Loose pieces of grain swell up and in turn raise up out of the wood, where they can be sanded off.

At the bottom-left corner of this photo, you can see another blank ready to be cut.

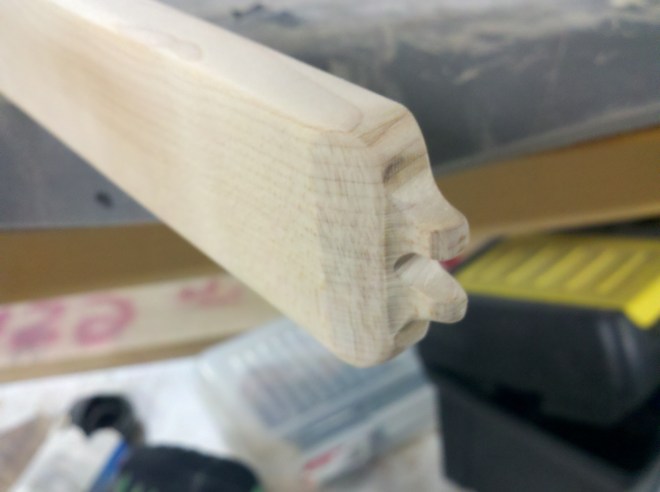
A lot of thought and testing went into this simple design and it works really well.  The catch (no pun intended) is to allow the rubber bands to release cleanly with no interference.

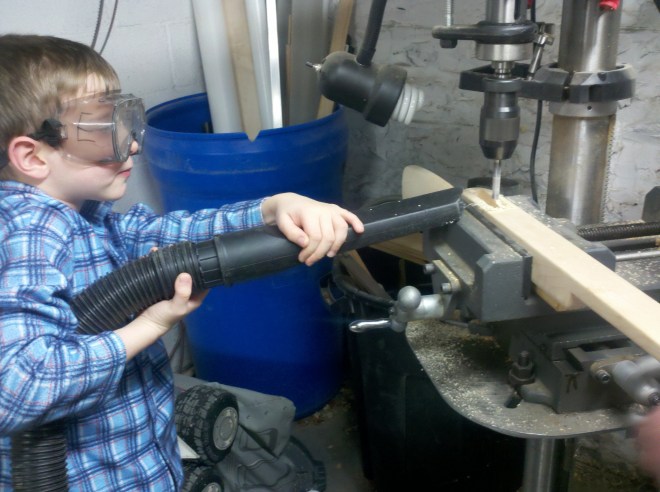
Here is Mr. E holding the shop-vac to keep the end mill from clogging up.  My Sherline milling machine is not large enough to hold this stock conveniently, so we used a drill press and cross-slide vice to mill it out.  Drill presses are not as rigid as milling machines, so we had to take it slow.

Rubber Band Gun #6 – four pieces explained

I spent a bit of time this evening taking measurements and verifications, adding pin holes, and communicating with Dixon Tool and Die about pricing, etc…

Here are the 4 key parts in the design:

Trigger: Pivots on a 3/16″ dowel pin.  As the trigger is pulled, the two protrusions from the front move downward into the actuators.  The one side is milled out 1/16″ deeper than the other, so that the one side of the rubber band gun fires before the other.  A 2 stage trigger.

Hammer: The hammer is not a hammer in the sense that it strikes something, but only in that it resembles the hammer from a gun.  It pivots on a 3/16″ dowel pin.  At the bottom is a milled out section directly below the pivot point, providing for a linear, smooth release.  The notch and hole on the front are used to attach a spring, which provides an automatic-reset for the hammer.

Actuator: Because I couldn’t think of a better name at the time.  This is the piece which holds the hammer from being released, and also contacts the trigger, both providing a linkage to be released, as well as spring tension up on the trigger.  Since the trigger does not have a spring, it relies on the contact from this part to provide springiness.

Receiver: For simplicity, this is milled and drilled from a 1.000 x 1.500 aluminum tube with 0.125″ thick walls.  It is responsible for holding pins, which in turn hold the rest of the parts.

Well, that’s all for now.