Here are pictures of a few parts we printed on the MakerBot Replicator 2.
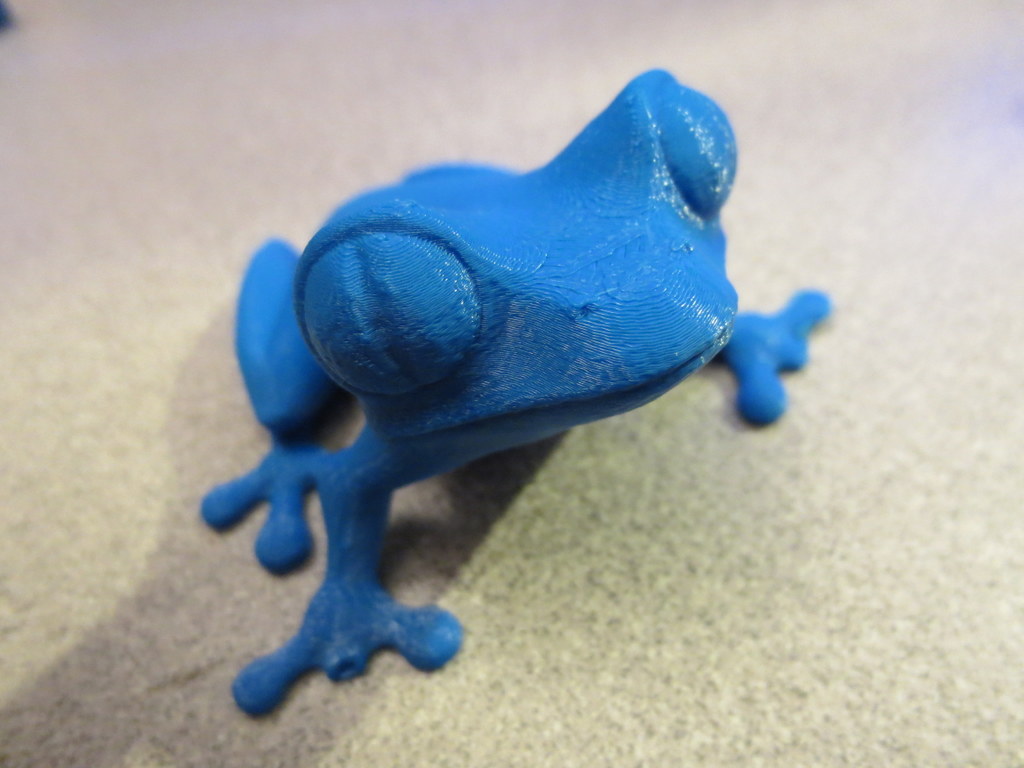


Here are pictures of a few parts we printed on the MakerBot Replicator 2.
Talking about the MakerBot Replicator 2 3D Printer
Last post I talked about what happens when the nozzle is too far away from the build plate when you are starting a build. This post will discuss what a proper distance looks like.
Remember proper setup:
The print in this discussion was standard quality. I slow it down a little bit to 70mm/sec during printing. I find the MakerBot doesn’t shake so much at the expense of slightly longer print time. I also heat it up a little to 235C which seems to be helpful for me.
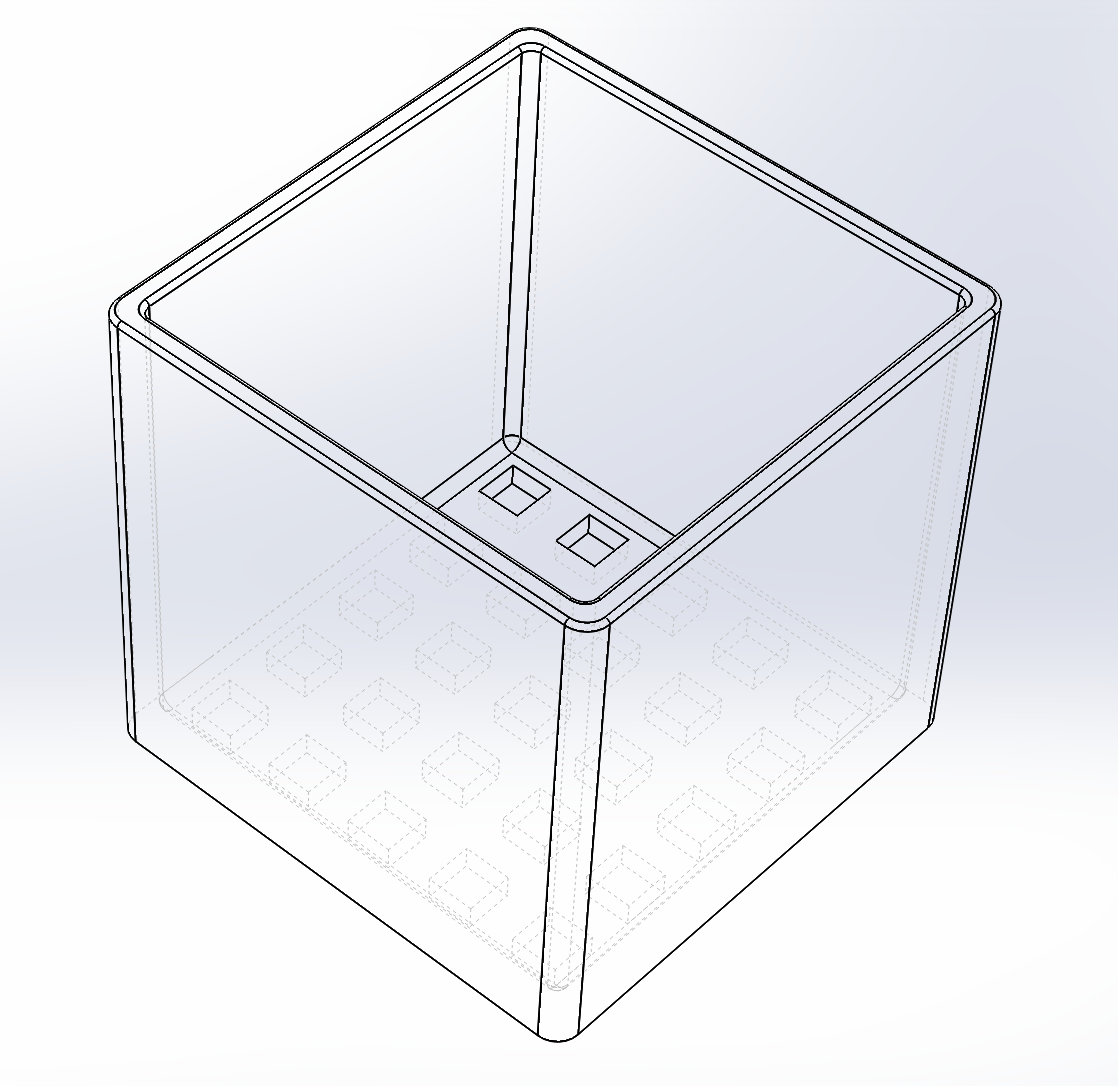
Here is what we are building (at a whopping 110mm x 110mm x 100mm):
This is a good sign that the print is getting off to a good start. See how each outline is nicely pressed flat, but no scraping is apparent?

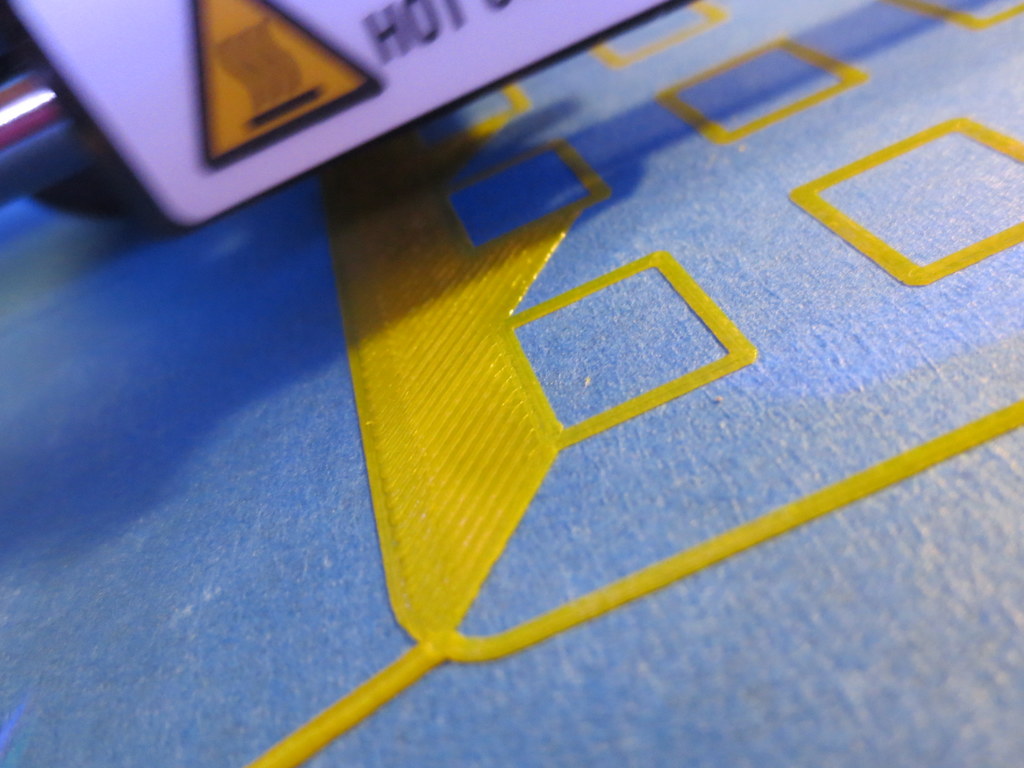
This is the front-left corner, the first printed. Notice how with few exceptions, each line is flattened just enough to merge into the adjacent line?

This is the front-right corner. The build plate must be too low here (not level) or the machine is out of alignment. You can see the nozzle isn’t close enough. What this might result in is a slight lift on a large part, but it is unlikely it will break away and cause problems.

This is the beginning of the second layer, and the time I left for 6 hours. I was comfortable that little would go wrong with the print at this point. Layers adhering correctly, build adhering correctly.

Here is a side-view of the print in progress. This is 0.20mm layer resolution, and it looks fine.

Here is a top-view of the same.

Here is the finished build:

This is stuff I have figured out by trial and error, so I hope these pictures help!
Get a good putty knife, because with the above method, the print will REALLY stick to the platform. I’d rather it over-stick to the tape than come off and fail (possibly breaking the printer).
We’ve been printing using PLA on scotch blue painters tape. I’ve learned a lot about how critical the first layer is. If you get it too thin, then it just barely smears on and will clog up the extruder. That can cause issues with subsequent layers not bonding correctly (in my opinion).
If you get it just right, and your tape is clean (alcohol wiped), then the PLA will stick very well to the tape. Maybe too well.
If you get the nozzle too far away, then the model doesn’t stick. Here is a picture of a bad first-layer (not close enough).

This model peeled up during printing and broke the cooling fan ductwork on the extruder head. Baaaaadddd. If you see a print starting like that, best to abort it and start over.

I was using a piece of foam rubber under my Arduino for the Marble Roller project. Not so nice, right?
Having a brand new MakerBot Replicator 2 on my desk, I decided to, well, make a nice bumper (or 3).
No design time needed as someone else did the hard work: http://www.thingiverse.com/thing:26237
Printed out wonderfully. Fits perfectly.


