[M004] Double Edge Router Assembled!

One evening of CAD.  One evening of CAM.  One evening of CNC.  And it fit together (quite well).  This is just held together with precisely located wooden dowel pins.  We will add screws tomorrow.

The only missing piece is the actual guide for running the blocks through.  That is separate so that it can be “dialed in” to the perfect cutting depth.

20180914_004625.jpg


Stain Dipper Upper Pulley

The Stain Dipper is taking shape one component at a time.  We have the servo controller, servo motor, brass for pulleys, bearings, blocks of UHMW Polyethylene for supports, taps, set screws, aluminum rods, shafts, an Arduino Mega, buttons, switches, power supplies, wire, and more…

Here are some views of the upper pulley system.

Free_Pulley_Assembly_2018-Jul-03_05-07-33AM-000_CustomizedView6207873165

Free_Pulley_2018-Jul-03_03-14-42AM-000_CustomizedView48552900108

A new chuck for the South Bend Model A Lathe

After we got the South Bend Model A lathe setup and started cleaning it up, we discovered that we needed quite a few different parts to make it complete.   One of these is a chuck.

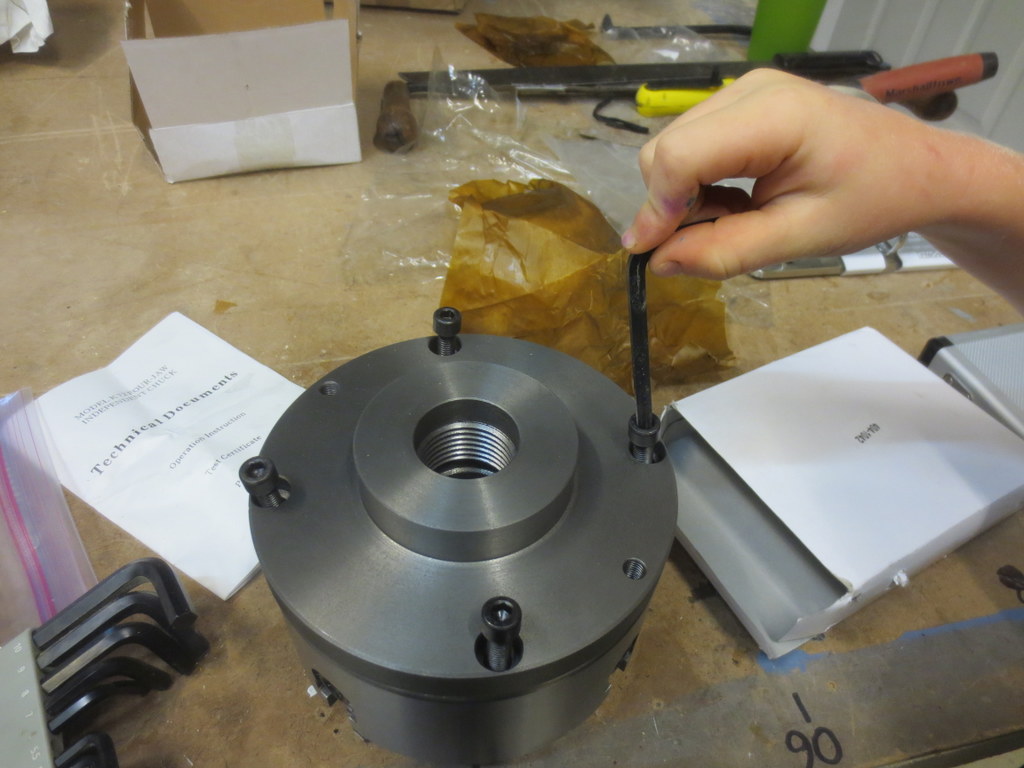
I’ve heard it said that if you can only have a single chuck, make it a 4-jaw chuck.  So that is what we started with.

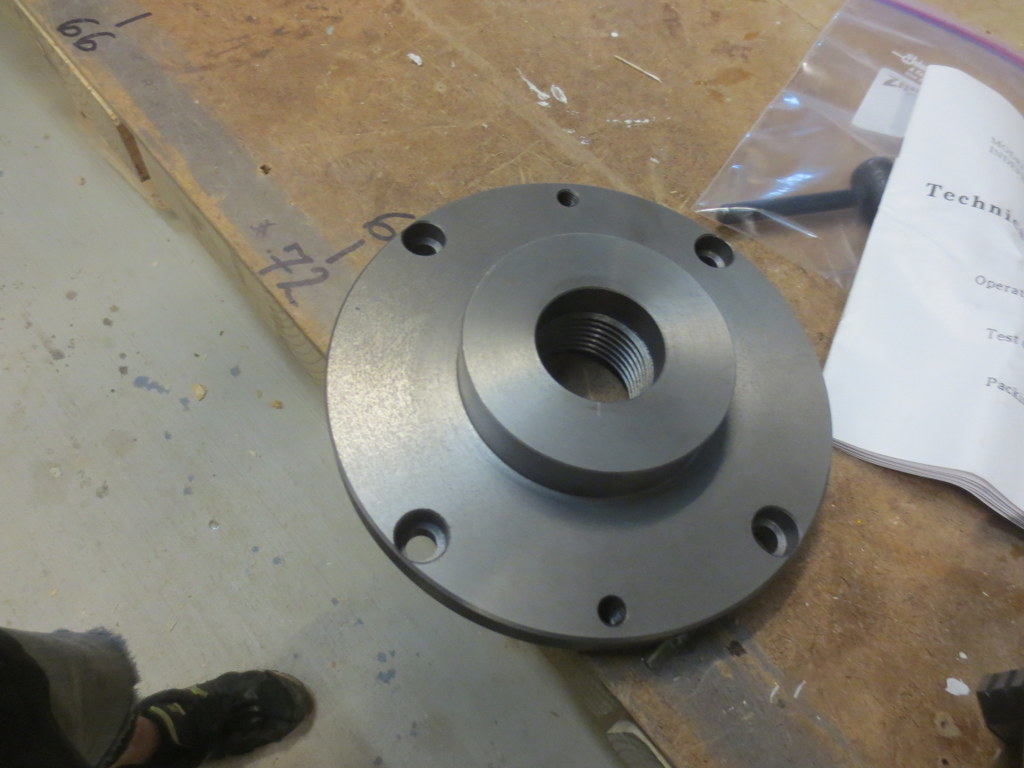
This is a Shars 6″ 4-jaw independent chuck from http://www.shars.com/product_categories/view/4111108/4Jaw_Independent_Chucks

IMG_6682


It came with a 1.5 x 8 threaded mounting plate.

IMG_6678

However, when we went to bolt them together, we discovered that the chuck didn’t fit the mounting plate!  How could that be?

A quick phone call to Shars cleared that up.  Apparently (this is common knowledge to machinists, but) we need to turn down the mounting plate to an exact fit.  This ensures that the chuck will run true on our lathe.

IMG_6684

But before we can do that, we need to wire up a motor, and get some tooling, and a tool post, etc…

That’s all for now!