authentication with amazon ecr and docker

Applies to linux systems.

~/.docker/config.json must have

{ 
    "credsStore": "ecr-login"
}

Also, you must have the docker-credential-ecr-login package installed.


For READ ONLY access to an ecr repo in the same account, here is the IAM policy:

{
    "Version": "2012-10-17",
    "Statement": 
    [
        {
           "Sid":"GetAuthorizationToken",
            "Effect":"Allow",
            "Action":[
              "ecr:GetAuthorizationToken"
            ],
            "Resource":"*"
        },
        {
            "Effect": "Allow",
            "Action": [
                "ecr:GetDownloadUrlForLayer",
                "ecr:BatchGetImage",
                "ecr:BatchCheckLayerAvailability"
            ],
            "Resource": ["arn:aws:ecr:us-west-2:12345678901234:repository/mysqldevimg/example"]
        }
    ]
}

Note there are two statements. The first one is REQUIRED.

  1. arn:aws:ecr is static, it doesn’t change
  2. us-west-2 is the region
  3. 12345678901234 is your aws account id
  4. repository is part of the ARN – it doesn’t change
  5. mysqldevimg/example is the repository

docker-credential-ecr-login can be a bit obtuse. On ubuntu 22.04, on ec2, running the following command hangs

docker-credential-ecr-login erase

To force erase, run this:

rm ~/.ecr/cache.json

See the real details of a git commit

The command to see the details of a git commit, specifically the tree attached to it, is:

git cat-file -p HEAD

It produces an output like this:

jason@rise22:~/code/appcove/HKSickler$ git cat-file -p HEAD
tree f388dffd7ac29813d4a61a1cfd9f4a03518c3c56
parent 2752fafb51cb58c288adcd5d0a6f262943416683
parent cd6ce6f905ef61d019fbbd16e157ef0389f809ef
author Jason Garber <jgarber@appcove.com> 1669396739 -0500
committer Jason Garber <jgarber@appcove.com> 1669396739 -0500

Merge: merge this and that ....

PostgreSQL – describe constraints with schema and table

Here is a query which will look at the pg_catalog views to extract a list of constraints along with their respective schema, table, name, and definition.

SELECT 
  pg_namespace.nspname as schema_name,
  pg_class.relname as table_name,
  pg_constraint.conname as constraint_name,
  pg_get_constraintdef(pg_constraint.oid, true) AS constraint_def, *
FROM 
  pg_catalog.pg_constraint 
  INNER JOIN pg_catalog.pg_namespace ON pg_constraint.connamespace = pg_namespace.oid 
  INNER JOIN pg_catalog.pg_class ON pg_constraint.conrelid = pg_class.oid
WHERE True
  AND pg_namespace.nspname = 'public'

Ubuntu 22.04 having trouble with desktop icons?

In a previous post I showed how to fix Ubuntu 20.04 icons. Now with 22.04 it is a bit different. What would normally work does not work now because Firefox is running as a snap package and cannot manage Gnome extensions.

It’s easier this time. Install the Gnome Shell Extension Manager (https://github.com/mjakeman/extension-manager/tree/master/src) like this:

$ sudo apt info gnome-shell-extension-manager

Then run it:
$ extension-manager

Here is an example of me installing and running it…

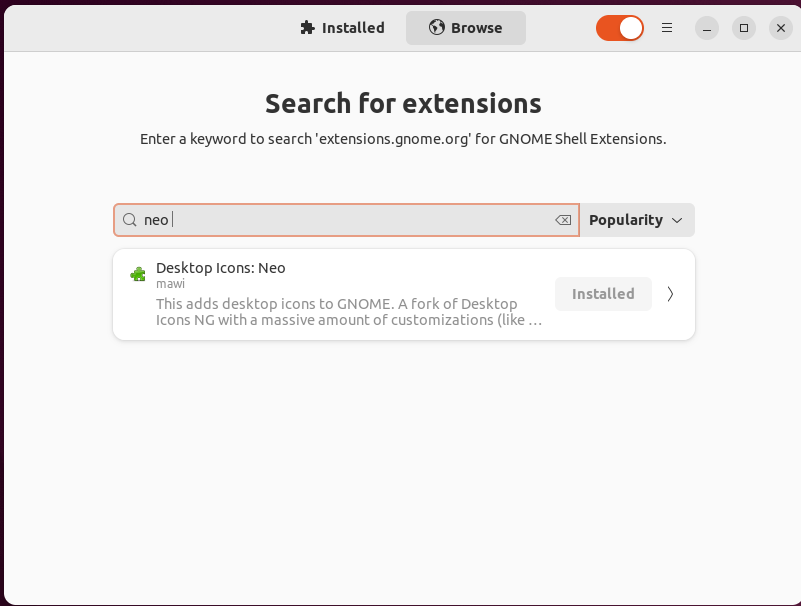
Go to the Browse tab and search for “neo “

Install Desktop Icons: Neo

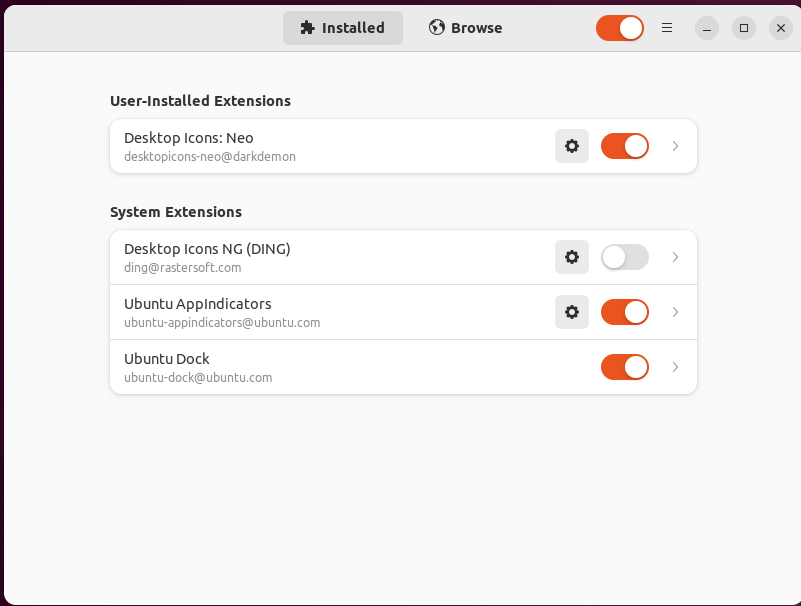
Go back to the Installed tab and enable it, and disable the other Desktop Icons NG (DING) extension

There you go!

Ubuntu 20.04 having trouble with desktop icons? Desktop icons doubled when using Neo?

I was having an issue on Ubuntu 20.04 where anytime I would save a file to the desktop, the desktop would freeze for a few seconds, and all icons would disappear or reappear. This happened when dragging items to the Trash as well.

The journey to get the answer was not very direct, but in the end, here is what I did to fix it:

Step 1: In FireFox, I visited https://extensions.gnome.org/

Step 2: I installed the browser extension into FireFox

Step 3: I ran this command:

sudo apt install chrome-gnome-shell

Step 4: I went back to FireFox and installed the desktop-icons-neo extension from https://extensions.gnome.org/extension/4337/desktop-icons-neo/

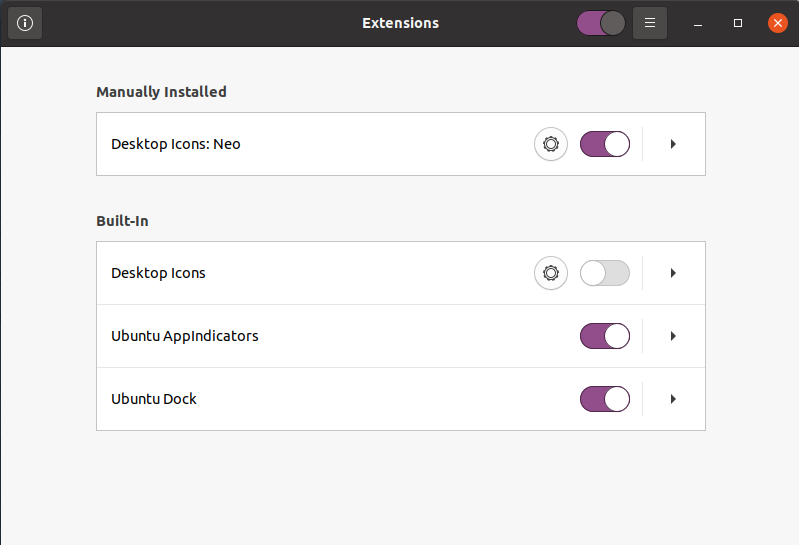
Step 5: I ran the following command and disabled Desktop icons.

gnome-shell-extension-prefs

Afterwards, the desktop began to work properly again.

I hope it helps someone!

Dell XPS 17 9700 + Ubuntu 20.04 Audio Issues? Fixed!

Written on June 19, 2021

I recently took the plunge and got a very nice Dell XPS 17 9700 with the intention to dual boot Windows 10 and Ubuntu 20.04. This all worked quite well – except audio.

There are numerous posts about this which can be found by googling this issue. I tried many of them, but finally found one that worked.

The root issue is that the kernel which comes with 20.04 does not include drivers (or they are not configured properly) to handle the audio devices in the XPS 17.

In testing I found that the linux-oem-20.04 package brought the speakers back to life, but not the mic.

sudo apt-install linux-oem-20.04

I found that the linux-image-5.6.0-1056-oem package brought the speakers AND mic back to life.

sudo apt install linux-image-5.6.0-1056-oem  linux-tools-5.6.0-1056-oem

To uninstall either use apt purge like this:

sudo apt purge 'linux*5.6.0*'

As you are rebooting, you can enter advanced options for ubuntu and select the kernel to test.


As an aside, I also followed these directions:

https://github.com/stukev/XPS-17-9700-Ubuntu-Soundfix

I am not sure if they had any effect or not. I do know that on the 5.10 kernel which comes with linux-oem-20.04, it did not help. On the 5.11 kernel, it also did not help. Not sure if the effect of running it helped on 5.6 or not.

Creo 7: From Design to 3D Print

The Desk Toy design project was delivered from our catalystservice.org order. We used McMaster Caar ordered reamers to get a good fit on the pins.

For a 0.250 pin, to get a sliding, we reamed it to 0.253, but that was still a bit tight. For press fit, we reamed to 0.250. The spring was hand made from a piece of spring wire.

All in all, a successful build!

Desk Toy Ready To Go

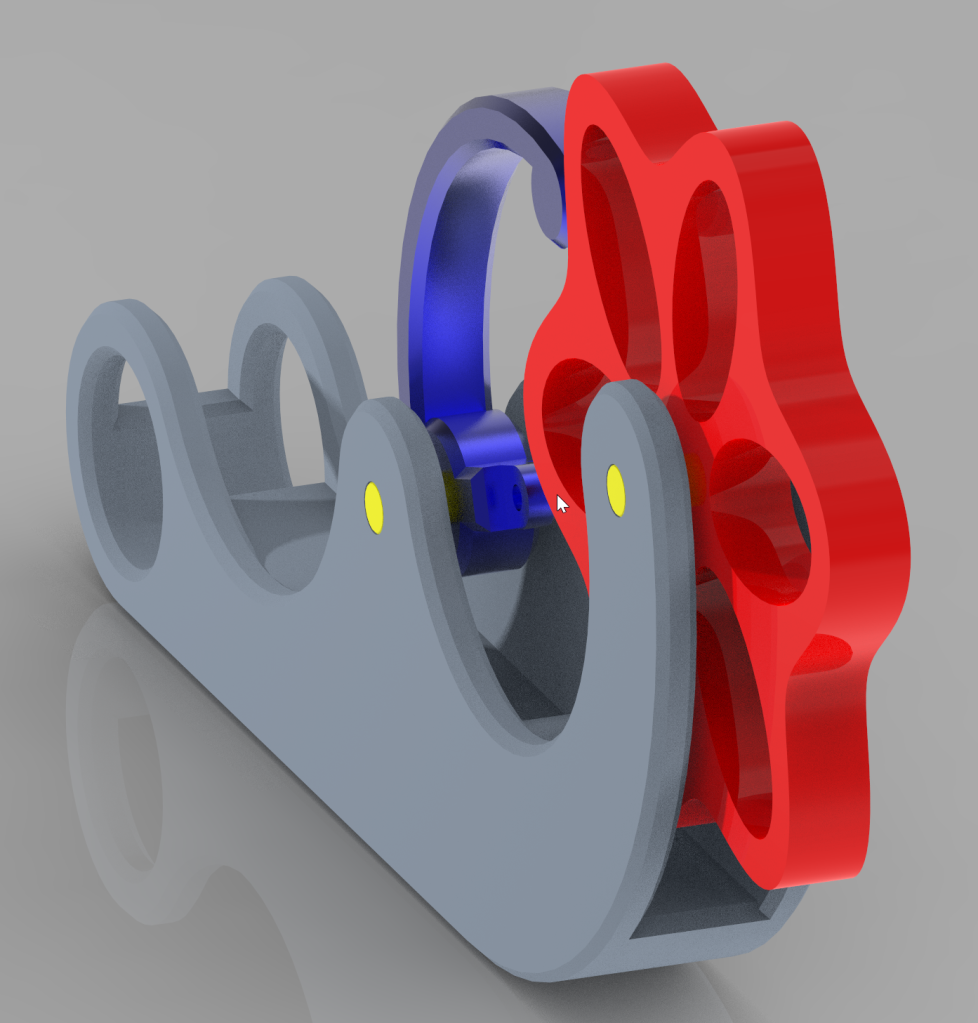
PP0001 is our first Creo 7 based 3D assembly which is going to be built as a physical prototype. It’s been a great exercise in learning Creo, and just simple mechanical engineering. We will have the parts 3D printed via Catalyst Services out of ABS and Nylon. Several reamers have been ordered from McMaster Carr to hopefully achieve a press fit and a slip fit for the steel pins.

Here are the final renders.

Creo 7: All from a sketch

One of the harder things in designing machines is figuring out how all of the parts interface with each other precisely. In Creo 7 Parametric, the ability exists to draw a series of master sketches which describe how parts interface, then extrude new bodies from these sketches, then create new parts from the bodies, and finally assemble them.

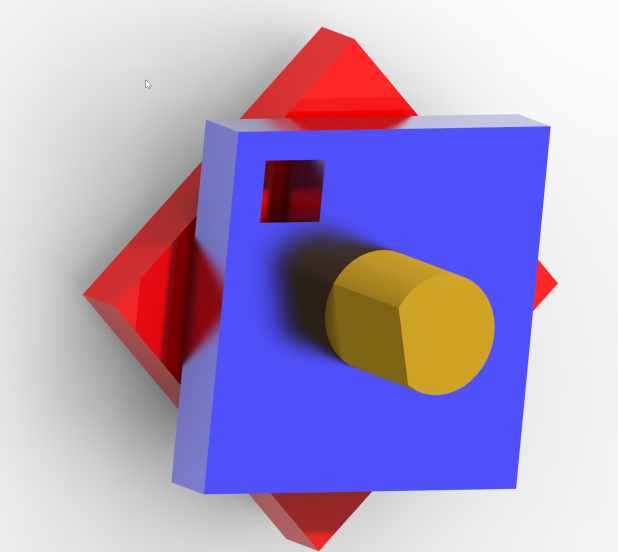
In this case we wanted to make sure that the follower, despite it’s curved shape, moved perpendicular to the surface of the wheel. We created a series of 4 sketches using many construction lines (which don’t show up after you exit sketching mode). These sketches described the key interface and clearance parts of the mechanism, including the maximum and minimum location of the follower as it rides over the highs and lows of the cam wheel. Using this geometry, we could accurately place the tension spring to put a calculated amount of force between the two parts, while ensuring that there was no part interference.

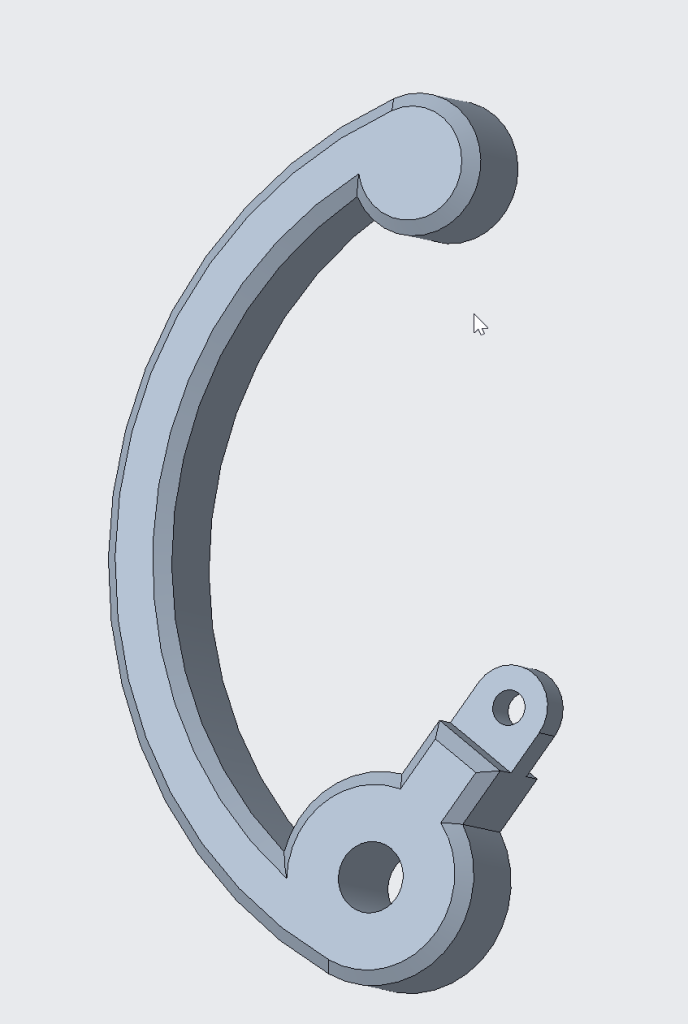
Additional sketches were then created referencing this base geometry to put the finer details on the actual parts to be extruded. They were then extruded, carefully being sure to mark them each as new bodies. Notice even the pin itself was sketched here because all of the pin holes and the pin itself might as well reference the same size circle.

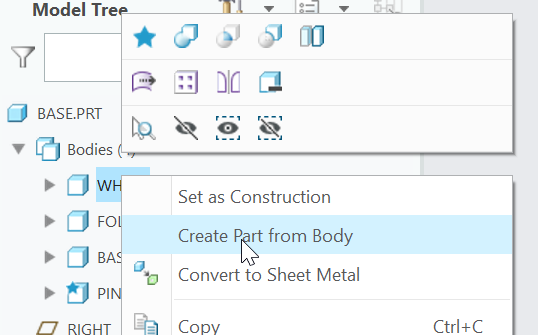
Each body was then saved to it’s own part:

And finishing touches were placed on each part in it’s own file. It’s important not to clutter up the base part too much, but rather keep it focused on overall shapes to the degree needed to ensure everything fits.

Finally all parts were assembled into an assembly, and further revisions were made to the base sketches to improve overall look, size, and function.

Creo 7 Parametric Assemblies

Creo 7 Parametric Assemblies

A point of confusion when learning Creo 7 (coming from Fusion 360 and previously SolidWorks) was how to mate parts in an assembly. Like many things, once you know it’s pretty simple!

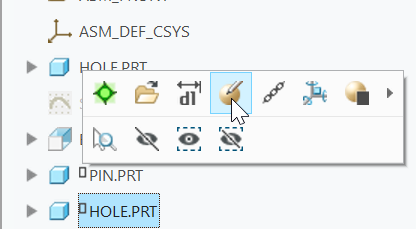
It is at the point you are inserting the part into the assembly that you are able to specify constraints/mates.

You can reopen this area of the application by clicking on a part and then then clicking Edit Definition.