Here are a couple of pictures of large pinecones made out of soft maple.
They were carved on the CAMaster CNC Router and finished by hand.


Here are a couple of pictures of large pinecones made out of soft maple.
They were carved on the CAMaster CNC Router and finished by hand.
I have been rather impressed with the accuracy of our CAMAster Cobra 508 ATC CNC Router. Here is a picture of a similar machine:

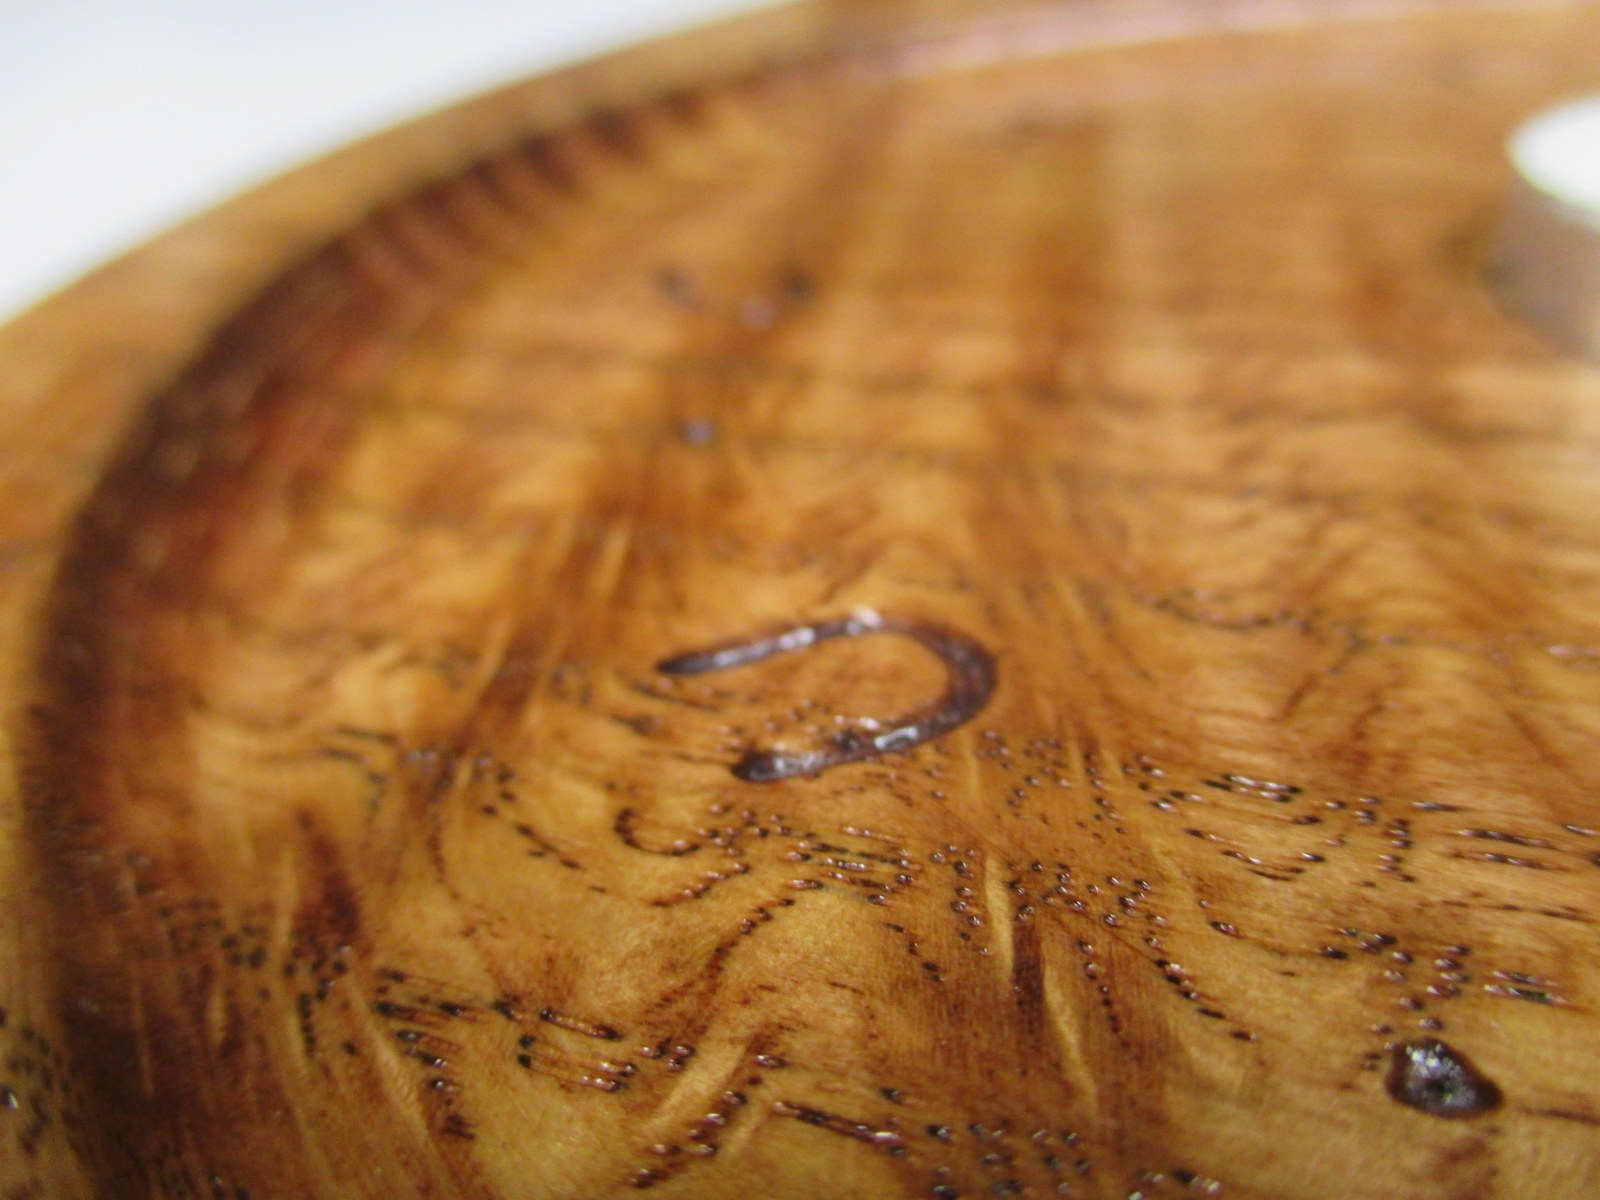
For having a travel of over 5′ x 8′, it still handles the fine details with quite a bit of repeatable accuracy. I helped to make a candle holder out of a piece of curly oak. It turned out to be very pretty.
In the following picture, you can see 4 toolpaths. The large circular pocket (0.25″ deep), the small inner pocket, the radius around the edge of the circle, and the engraving.

The rest of the project was completed using a bandsaw and conventional tools. CNC brings a lot to the table (pun intended), but it is more amazing what a craftsman can do by hand.
Did you know that Okuma, who is a manufacturer of state of the art CNC machines, hand scrapes all the seven components of a machine foundation?
From http://www.okuma.com/handscraping:
Unfortunately, there is still no technology available to achieve the geometric precision that hand scraping does. Components need to be aligned within a millionth of an inch. And it’s where that kind of precision is needed that makes it even more critical: your machine’s foundation. The seven components of a machine’s foundation simply must be hand scraped to create ideal flatness, to develop proper oil pockets, and to achieve those tight tolerances.
In the world of CNC routers, we talk in “thousandths of an inch”. But in the above, they are talking in “millionths of an inch” and “by hand” in the same paragraph. That is simply amazing to me.
Here are some pictures of the finished product. The sum of some of the efforts of man, machine, and nature.


Here is a video of our CAMaster Cobra 508 ATC CNC Router cutting hardwood plywood for a Ballista.

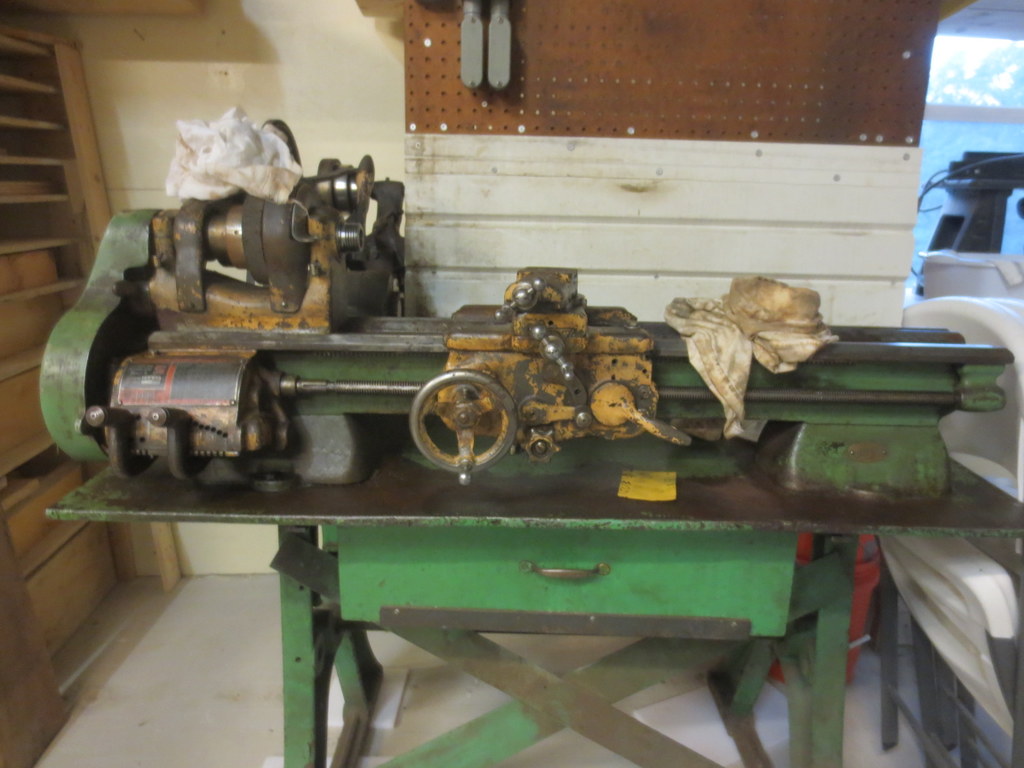
Our South Bend Model A Lathe was rather stiff when we started working with it but we have been cleaning it up a lot since then. Now it is running very smoothly by hand – we still do not have it under power yet.

WD-40 has been a great cleaning agent. It cuts through old dried up oil really well. There was a slight bit of rust on the ways, so we used some steel wool and very fine-grit sandpaper (400 grit) to clean them up.

Basically it boils down to a lot of time and “elbow grease”. Thanks to Ezra, it is looking a lot nicer now.

That is all for now!
We got a “new” old lathe. It is a 9 inch South Bend Model A, Catalog No. 444
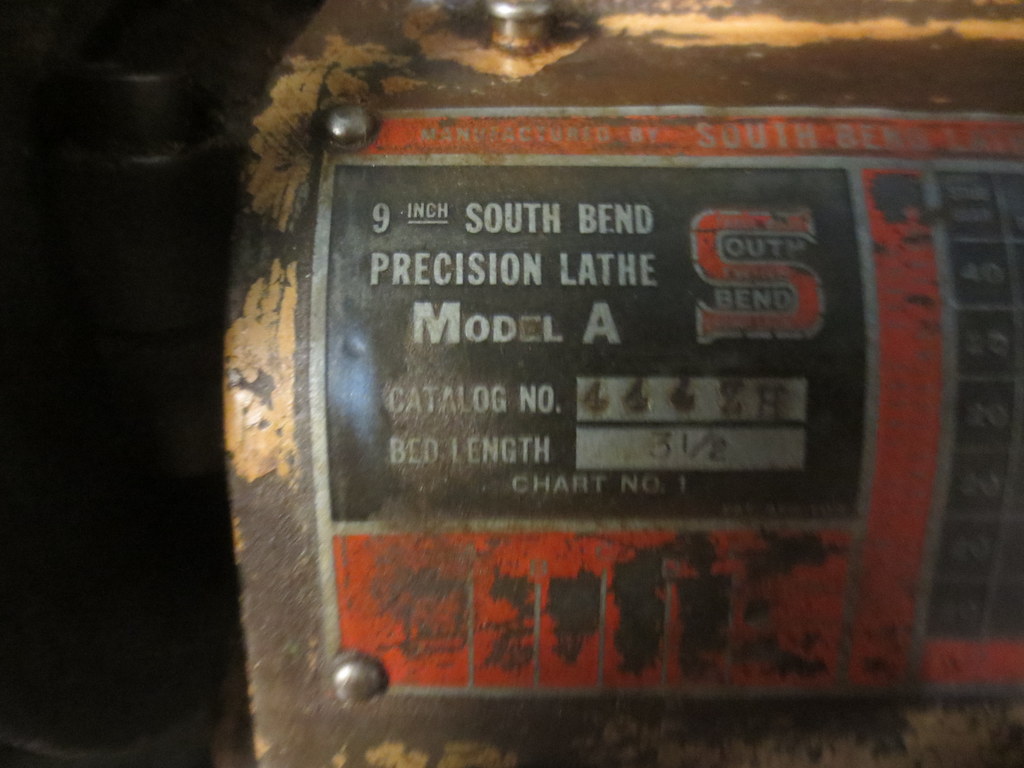
The lathe came pretty dirty, slightly stiff, and without a chuck. After some cleaning, it is moving much smoother.
More updates to come.
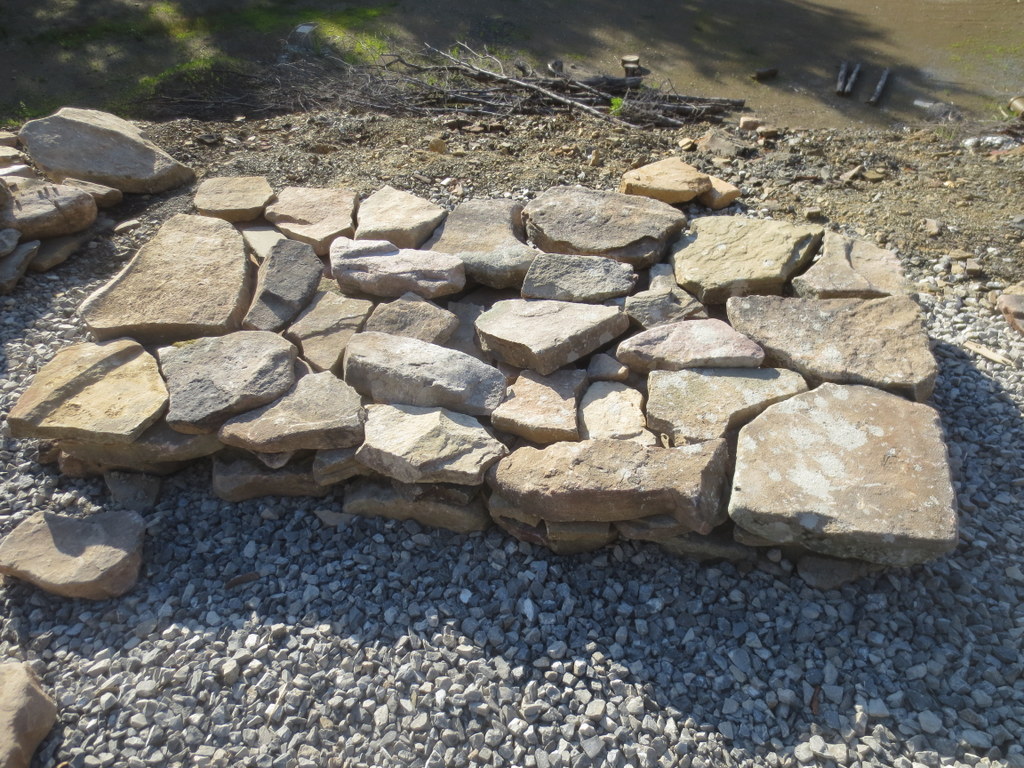
We recently purchased a very nice gas grill. It’s really great, but we sometimes still like the flavor of charcoal grilling. Rather than just buy a charcoal grill, we decided to build one from scratch.
Here is the beginning of the base. We are going for a dry-stack look, but using mortar to make it very sturdy.
Mixing mortar in the wheelbarrow. Not too much water!

Using rubber gloves to lay down the mortar between the stones. It’s like a big puzzle.

“A place for everything and everything in its place”
http://www.phrases.org.uk/meanings/14400.html
It is an ongoing chalenge to find a proper place to keep everything. But in that lies the key to being organized. It is fairly easy to put everything away when everything has an “away” to be put into.
In an effort to implement that, we decided to use an otherwise useless corner of the dining room to make shelves for bins and books. Rubbermaid makes some really nice bus boxes which are sold at Sams Club. They look like this:

This is one of the few actually nice storage-related items you can purchase nowadays. The quality is second to none. It is an impressive (proper) use of plastic.
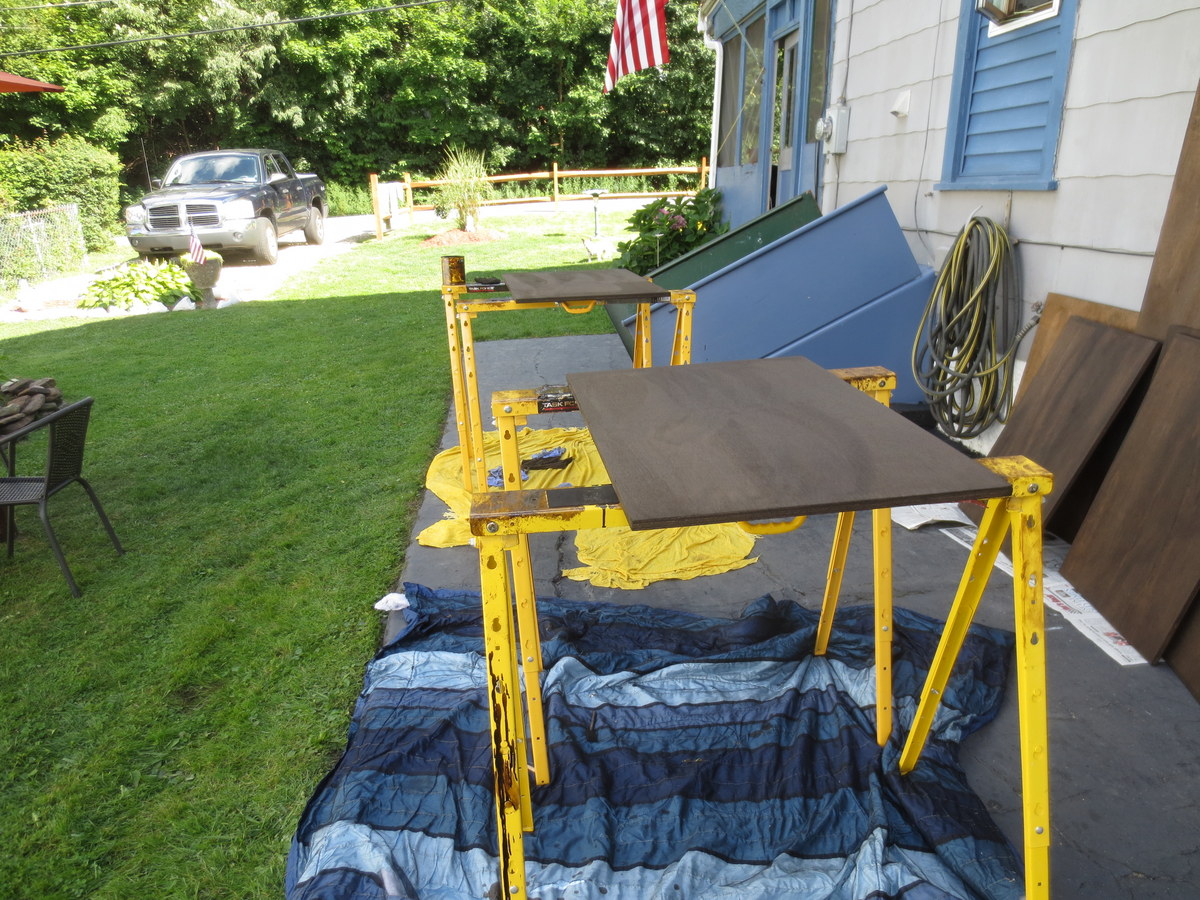
Because I lack a dust collection system, all of the routing and cutting was making the shop too dusty to be in comfortably. So we went outside.

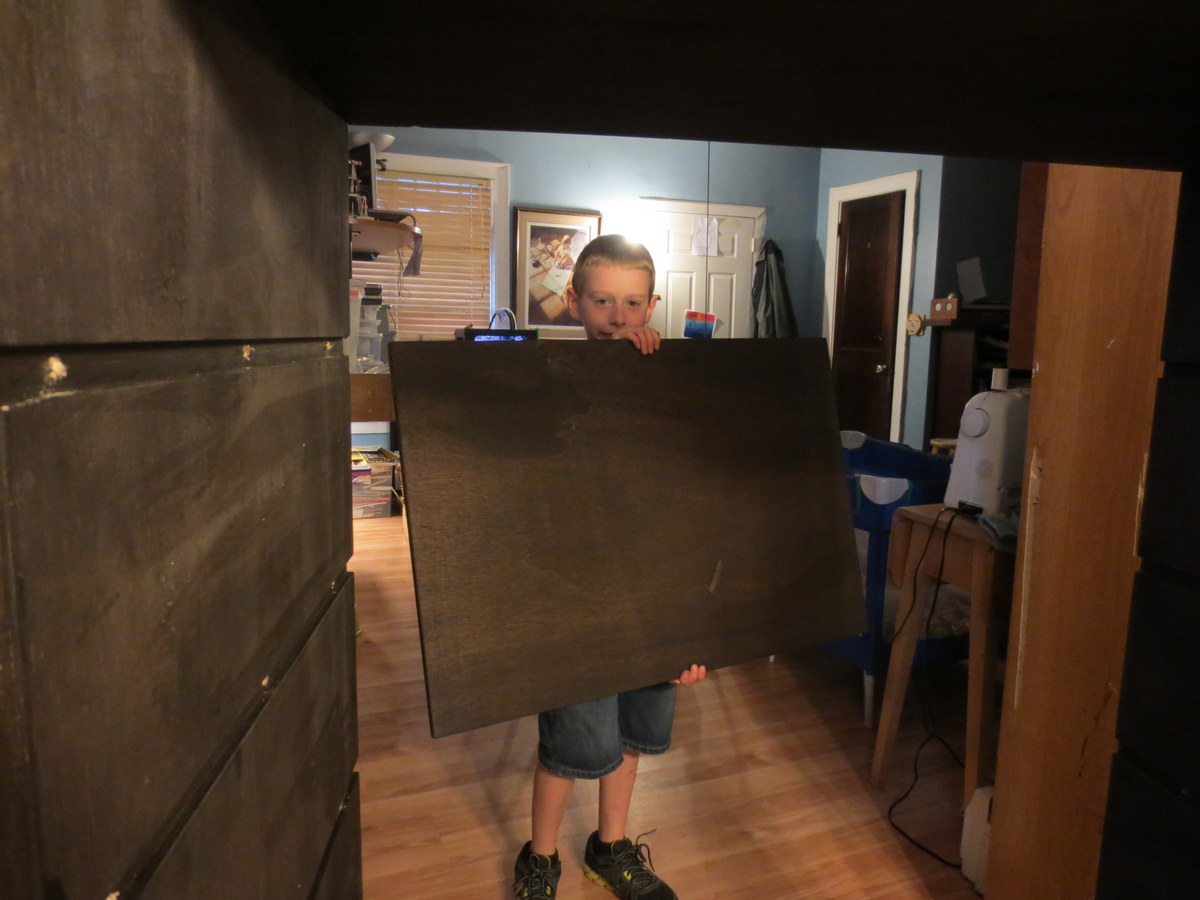
All of the sanding was done by hand (Thank you ELI and EZRA):

The shelves were constructed of 23/32″ SandedPly plywood from Home Depot (about $45/sheet). I ran out of that and used an alternate USA made maple-faced hardwood plywood for one of the shelves. You can really see the difference. We routed a groove for each shelf using an aluminum guide, palm router, and 3/4″ bit.

They were stained with MinWax Espresso stain.
Predrilling really helps smooth the assembly process. Notice the metric ruler? More on that later.

Because the shelves are not designed to disassemble, they were screwed together and then slid into place and screwed to the wall.
And the result was great. As you can see, a secondary bookshelf is integrated to help keep the growing collection of schoolbooks.

And as per the usual tradition at our home, a bit of “alternate” use before we start with the real use:

Talking about the MakerBot Replicator 2 3D Printer
Last post I talked about what happens when the nozzle is too far away from the build plate when you are starting a build. This post will discuss what a proper distance looks like.
Remember proper setup:
The print in this discussion was standard quality. I slow it down a little bit to 70mm/sec during printing. I find the MakerBot doesn’t shake so much at the expense of slightly longer print time. I also heat it up a little to 235C which seems to be helpful for me.
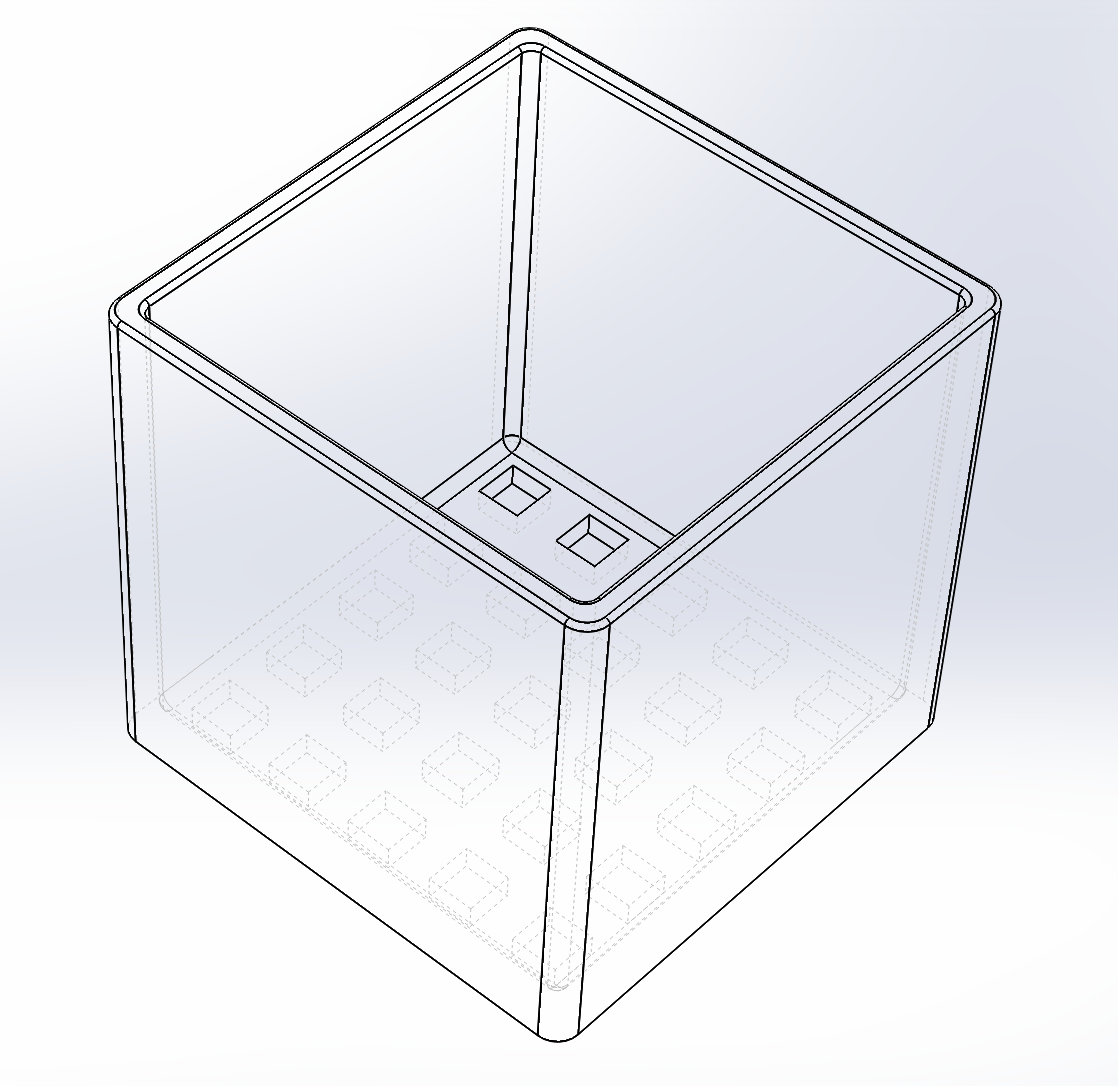
Here is what we are building (at a whopping 110mm x 110mm x 100mm):
This is a good sign that the print is getting off to a good start. See how each outline is nicely pressed flat, but no scraping is apparent?

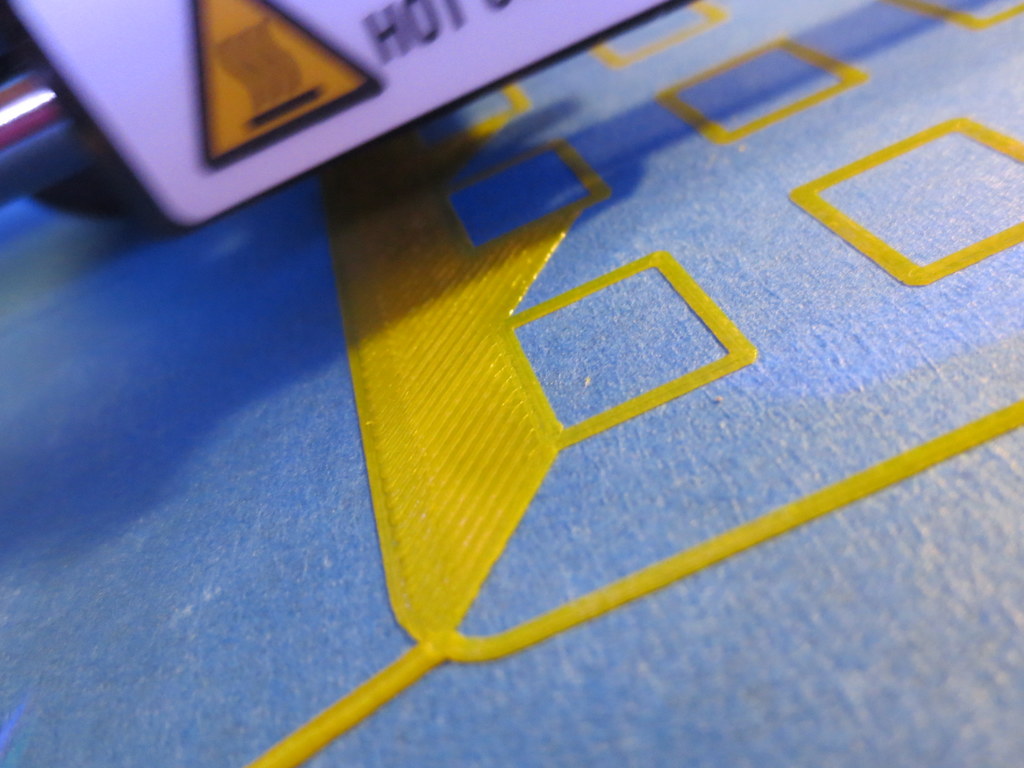
This is the front-left corner, the first printed. Notice how with few exceptions, each line is flattened just enough to merge into the adjacent line?

This is the front-right corner. The build plate must be too low here (not level) or the machine is out of alignment. You can see the nozzle isn’t close enough. What this might result in is a slight lift on a large part, but it is unlikely it will break away and cause problems.

This is the beginning of the second layer, and the time I left for 6 hours. I was comfortable that little would go wrong with the print at this point. Layers adhering correctly, build adhering correctly.

Here is a side-view of the print in progress. This is 0.20mm layer resolution, and it looks fine.

Here is a top-view of the same.

Here is the finished build:

This is stuff I have figured out by trial and error, so I hope these pictures help!
Get a good putty knife, because with the above method, the print will REALLY stick to the platform. I’d rather it over-stick to the tape than come off and fail (possibly breaking the printer).
We’ve been printing using PLA on scotch blue painters tape. I’ve learned a lot about how critical the first layer is. If you get it too thin, then it just barely smears on and will clog up the extruder. That can cause issues with subsequent layers not bonding correctly (in my opinion).
If you get it just right, and your tape is clean (alcohol wiped), then the PLA will stick very well to the tape. Maybe too well.
If you get the nozzle too far away, then the model doesn’t stick. Here is a picture of a bad first-layer (not close enough).

This model peeled up during printing and broke the cooling fan ductwork on the extruder head. Baaaaadddd. If you see a print starting like that, best to abort it and start over.

I was using a piece of foam rubber under my Arduino for the Marble Roller project. Not so nice, right?
Having a brand new MakerBot Replicator 2 on my desk, I decided to, well, make a nice bumper (or 3).
No design time needed as someone else did the hard work: http://www.thingiverse.com/thing:26237
Printed out wonderfully. Fits perfectly.


