The CAMaster Cobra 508 has arrived! And I have a helper.


The CAMaster Cobra 508 has arrived! And I have a helper.
Hi, this is Eli. One of our school assignments is to completely learn our math tables by heart. We wrote a python program to help us practice with this. This is a program for multiplication tables 1-12.

Ezra and I are learning how to program in python. Dad helped us get the structure of this program right, but we entered into IDLE and debugged it ourselves.
Here is an example of the program in action:
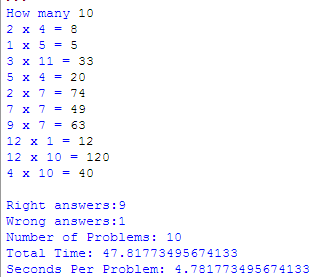
When you activate the program it asks you how many problems you want – you can go from 1 to 144 problems.
When you are done with your problems it tells you how long you took and how many problems you got right and how many problems you got right and how long it took you to answer each problem.
That’s all for now!

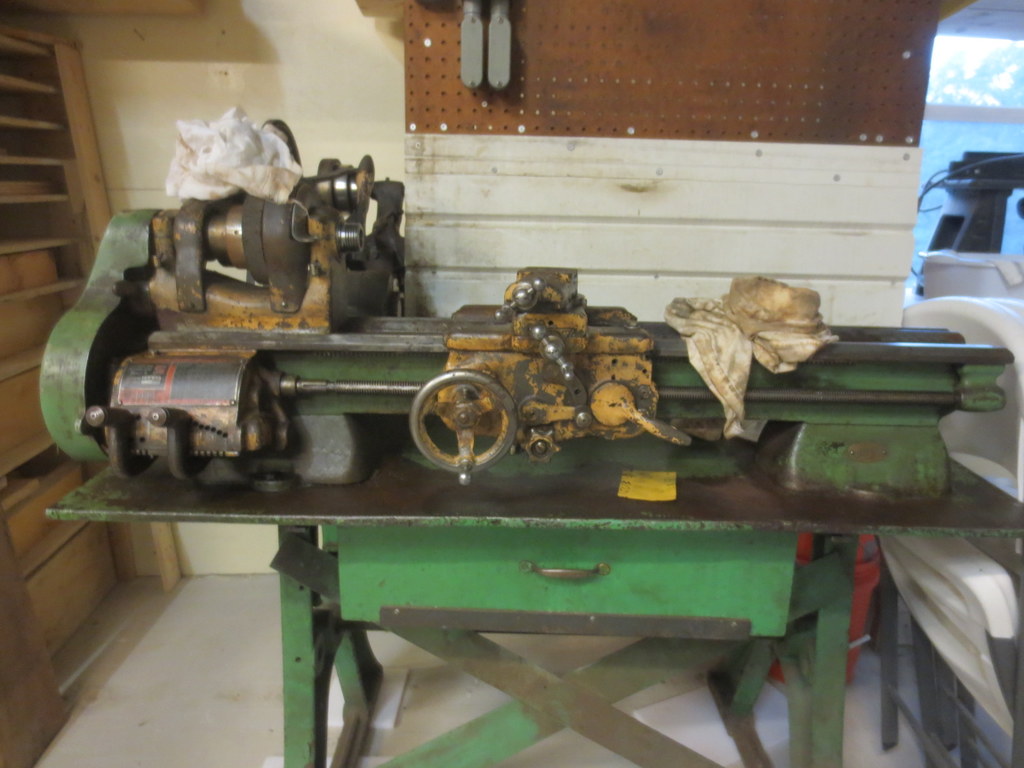
Our South Bend Model A Lathe was rather stiff when we started working with it but we have been cleaning it up a lot since then. Now it is running very smoothly by hand – we still do not have it under power yet.

WD-40 has been a great cleaning agent. It cuts through old dried up oil really well. There was a slight bit of rust on the ways, so we used some steel wool and very fine-grit sandpaper (400 grit) to clean them up.

Basically it boils down to a lot of time and “elbow grease”. Thanks to Ezra, it is looking a lot nicer now.

That is all for now!
After we got the South Bend Model A lathe setup and started cleaning it up, we discovered that we needed quite a few different parts to make it complete. One of these is a chuck.
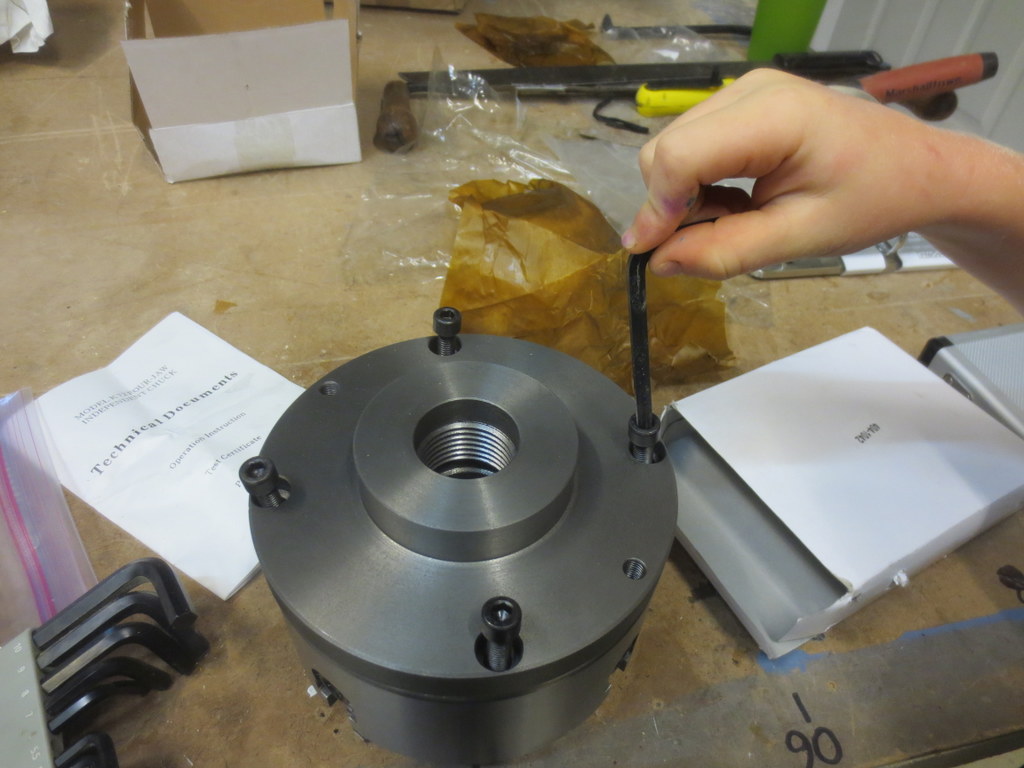
I’ve heard it said that if you can only have a single chuck, make it a 4-jaw chuck. So that is what we started with.
This is a Shars 6″ 4-jaw independent chuck from http://www.shars.com/product_categories/view/4111108/4Jaw_Independent_Chucks

It came with a 1.5 x 8 threaded mounting plate.
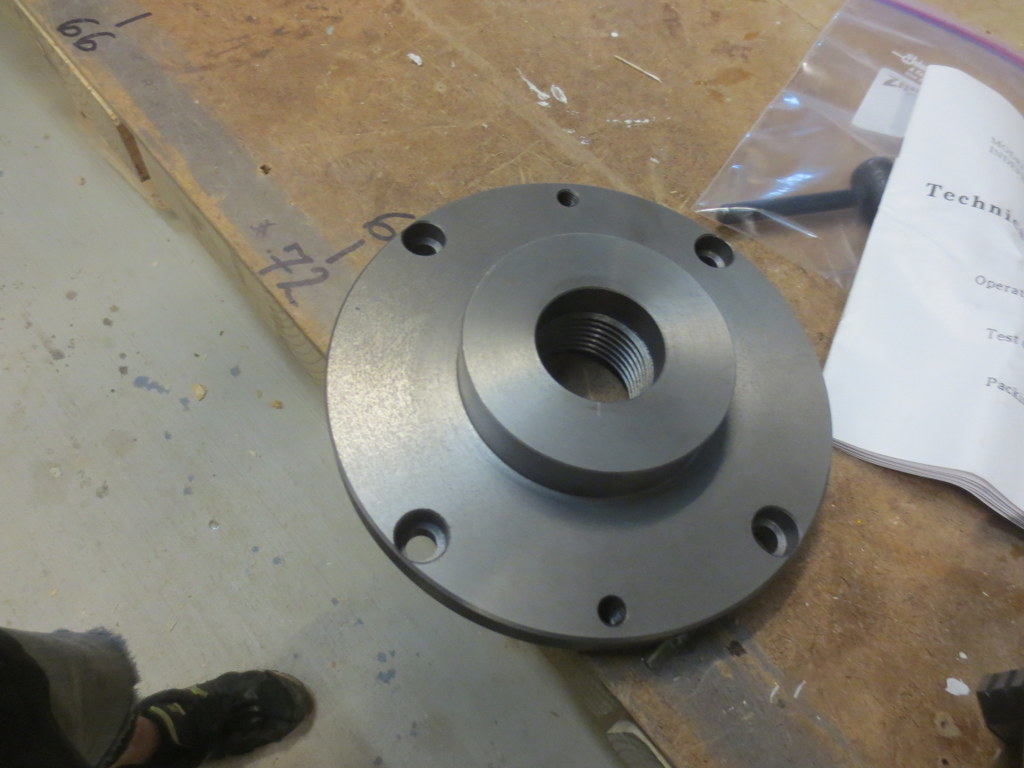
However, when we went to bolt them together, we discovered that the chuck didn’t fit the mounting plate! How could that be?
A quick phone call to Shars cleared that up. Apparently (this is common knowledge to machinists, but) we need to turn down the mounting plate to an exact fit. This ensures that the chuck will run true on our lathe.
But before we can do that, we need to wire up a motor, and get some tooling, and a tool post, etc…
That’s all for now!
We got a “new” old lathe. It is a 9 inch South Bend Model A, Catalog No. 444
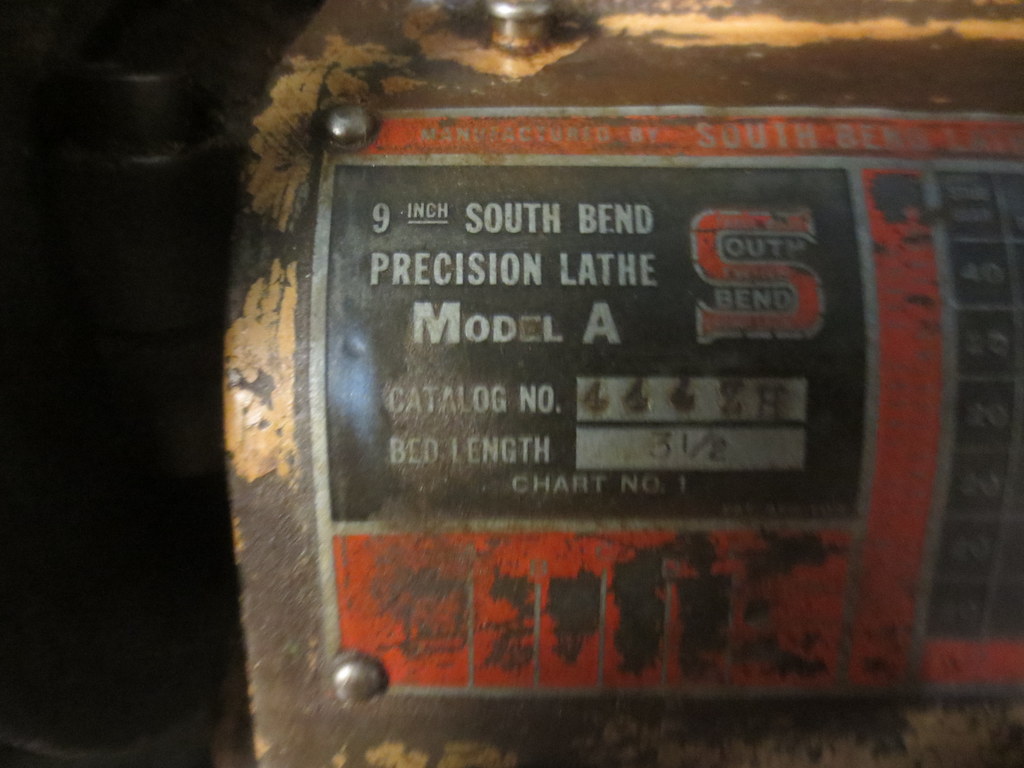
The lathe came pretty dirty, slightly stiff, and without a chuck. After some cleaning, it is moving much smoother.
More updates to come.
In this post I will describe some of the work we did while building a 10′ x 10′ deck for the little house on the hill.
Because the house is on a rather steep hill, even getting to the front door was a challenge. Having a nice deck to sit on goes a long way to making it a wonderful little spot to spend time.
It all started with digging post holes. Rocky soil, on a hill, with hand tools makes for a lot of work. Once dug down to 2-3′, we fixed them in place with Fast Set cement. Poured it in dry and dumped some water on it. Super convenient.

Once the posts were in place, we leveled and screwed on a frame made of 2×10 and 2×8 treated lumber.

Keeping the workplace neat.

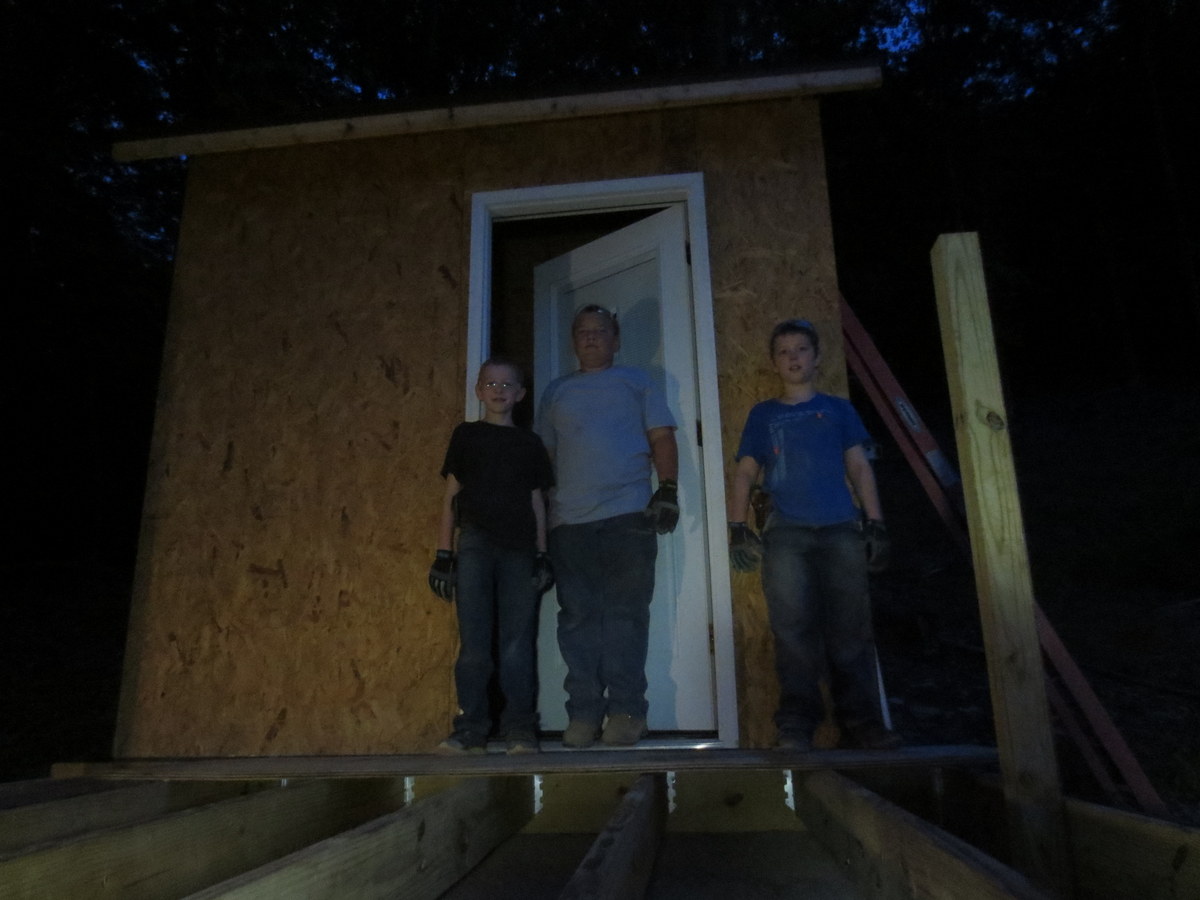
Working into the evening on the framing. Having 3 surefire flashlights handy makes this possible, even convenient.
Because much of the deck load will rest on the front member, and even more so because groups of people tend to converge at a railing, we made this from doubled 2×10 lumber.

Here we are installing the decking. Rather than going with standard decking lumber (5/4″), we opted to go with 2×8 lumber. It was only a few percent more expensive, and far stiffer.

Good workers hard at work.

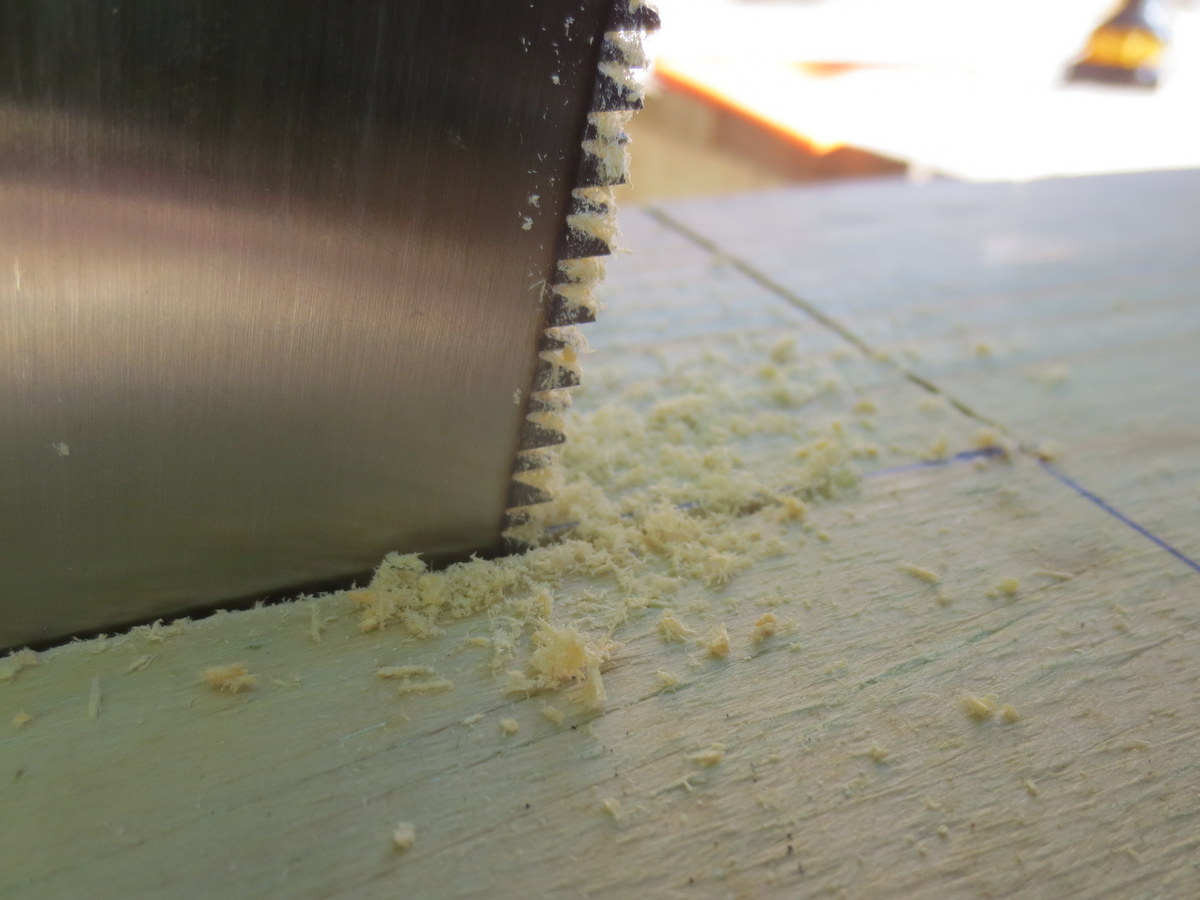
We used a hand-saw to cut notches out of the end of the 2×8 flooring lumber where it (would have) contacted the 4×4 upright posts. We live in a culture that thinks “power tools” for most things, but sometimes the hand-tools are the best for the job.

A close up of the hand-saw approaching the end of the line.
Notice that Eli (center) has hearing and eye protection? This is because he was running the impact driver installing all of the screws in the decking. There were hundreds and hundreds of screws to install.

Here is a view up the hill.

A very clear but warm day.

We made the railing with 2×6 lumber. The top part of the railing had a 2×6 on the face of the upright supports as well as a 2×6 cap on top. This resulted in a very strong (up/down and forward/back) railing that is convenient for setting drinks, etc… on.

For this project we elected to use Torx head exterior screws. Coupled with a Dewalt 20v max impact driver, the 3″ screws made their way through treated lumber like a hot knife through soft butter.

Wrapping up. Just need to finish screwing the decking down and add the top-plate to the railing.

The view out the front door. Nice.

240 FPS of a rag soaked in gasoline.
Here are pictures of a few parts we printed on the MakerBot Replicator 2.
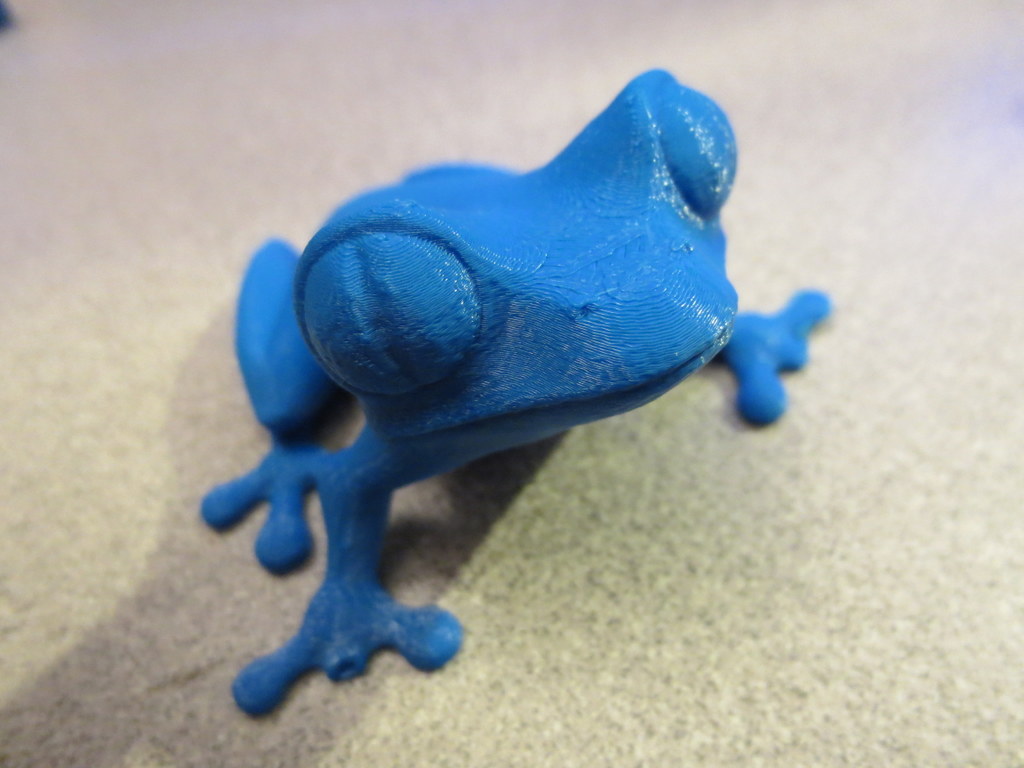


Talking about the MakerBot Replicator 2 3D Printer
Last post I talked about what happens when the nozzle is too far away from the build plate when you are starting a build. This post will discuss what a proper distance looks like.
Remember proper setup:
The print in this discussion was standard quality. I slow it down a little bit to 70mm/sec during printing. I find the MakerBot doesn’t shake so much at the expense of slightly longer print time. I also heat it up a little to 235C which seems to be helpful for me.
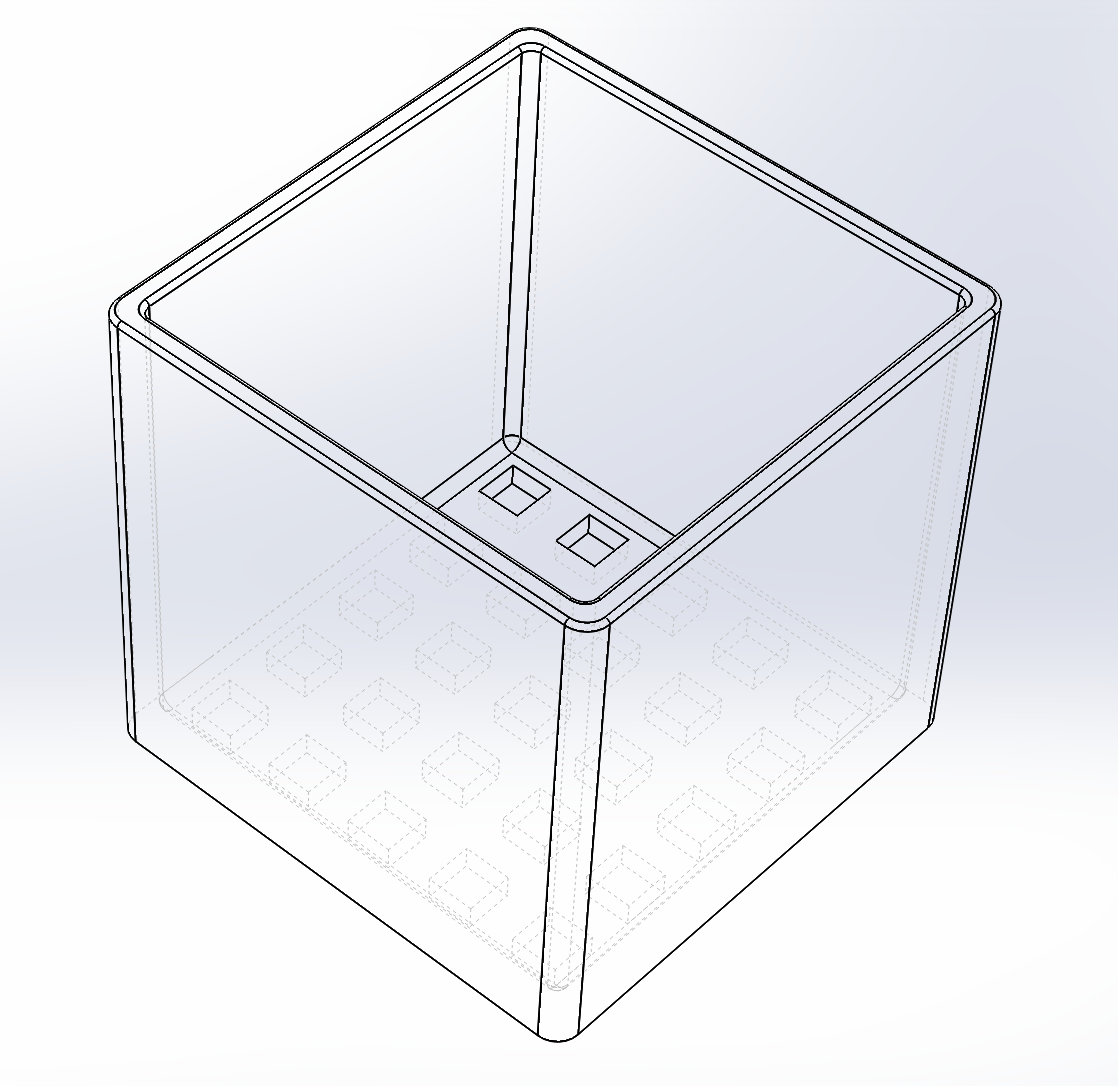
Here is what we are building (at a whopping 110mm x 110mm x 100mm):
This is a good sign that the print is getting off to a good start. See how each outline is nicely pressed flat, but no scraping is apparent?

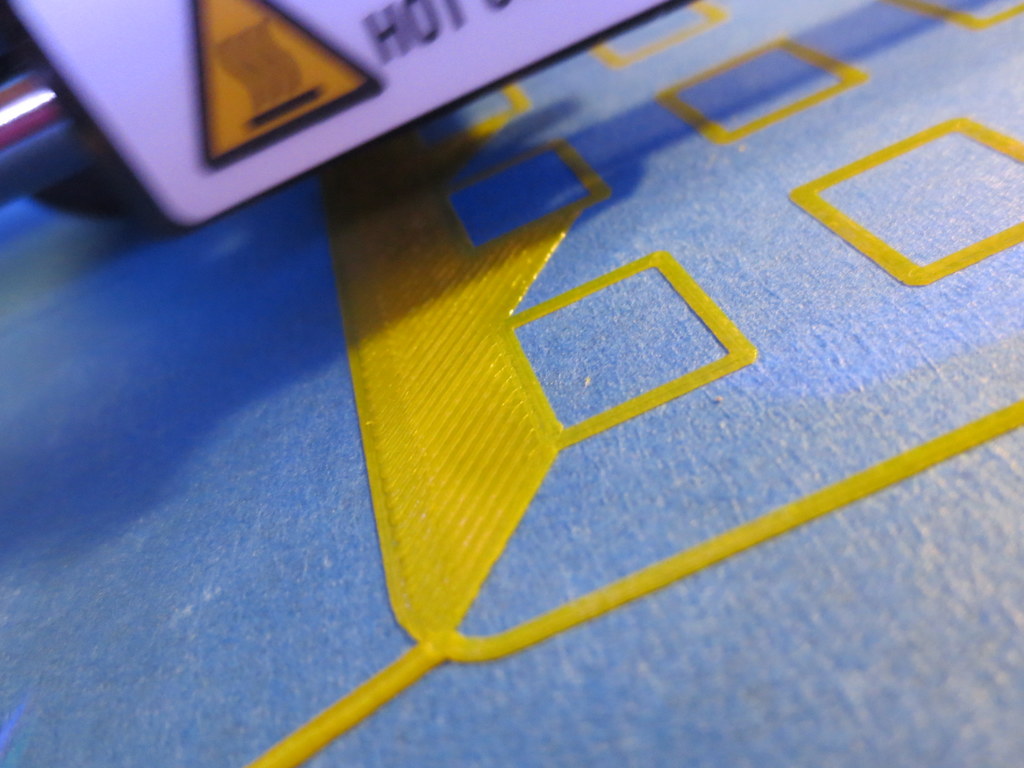
This is the front-left corner, the first printed. Notice how with few exceptions, each line is flattened just enough to merge into the adjacent line?

This is the front-right corner. The build plate must be too low here (not level) or the machine is out of alignment. You can see the nozzle isn’t close enough. What this might result in is a slight lift on a large part, but it is unlikely it will break away and cause problems.

This is the beginning of the second layer, and the time I left for 6 hours. I was comfortable that little would go wrong with the print at this point. Layers adhering correctly, build adhering correctly.

Here is a side-view of the print in progress. This is 0.20mm layer resolution, and it looks fine.

Here is a top-view of the same.

Here is the finished build:

This is stuff I have figured out by trial and error, so I hope these pictures help!
Get a good putty knife, because with the above method, the print will REALLY stick to the platform. I’d rather it over-stick to the tape than come off and fail (possibly breaking the printer).
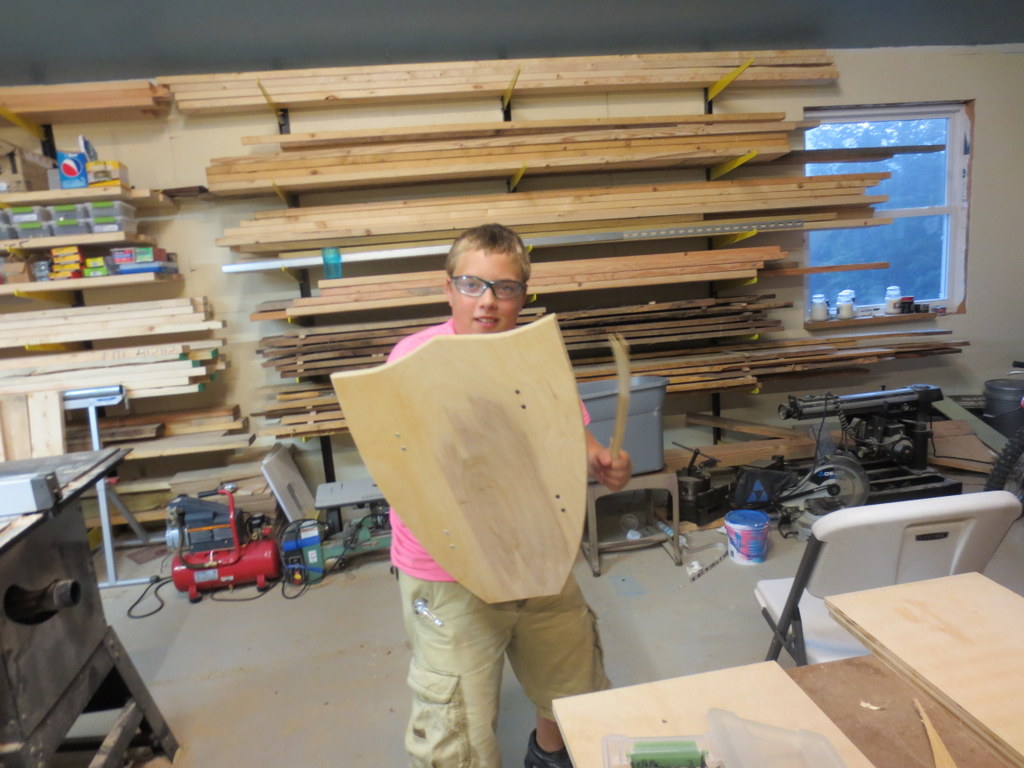
We made a wooden shield out of 3/4″ hardwood plywood. To get the perimeter, we bent an aluminum bar into the shape of one side, and then used it to trace both sides, making it symmetrical.
We softened a section of 4″ PVC pipe and flattened one side. After plenty of sanding the endges, we screwed it to the back of the shield with 3/4″ screws.
We cut the handle out of a section of 2×4 on the bandsaw, routed, and sanded it smooth. Here are the pictures! All done but a coat of gold or silver paint.