Here is a video of the CNC router cutting a tenon for an oak towel holder. The router is being controlled by gcode that was written using a python program that I wrote for this purpose.

Here is a video of the CNC router cutting a tenon for an oak towel holder. The router is being controlled by gcode that was written using a python program that I wrote for this purpose.
If you’ve ever printed with a FDM style 3D printer such as MakerBox, I’m sure you know that the build platform has to be pretty flat and level for you to have a successful build.
The first layer is critical. If you do not get the first layer right, things go bad. I wrote about this a while ago here: https://blog.gahooa.com/2013/08/10/makerbot-replicator-2-tip-first-layer-just-right/
I was having continuous problems with the first layer being too close in the center and too far on the edges of the build plate. It was like a lose/lose on a bigger build. On smaller parts I could calibrate it so it would work fine, but larger parts inevitably ended up being wrong either in the middle or the sides.
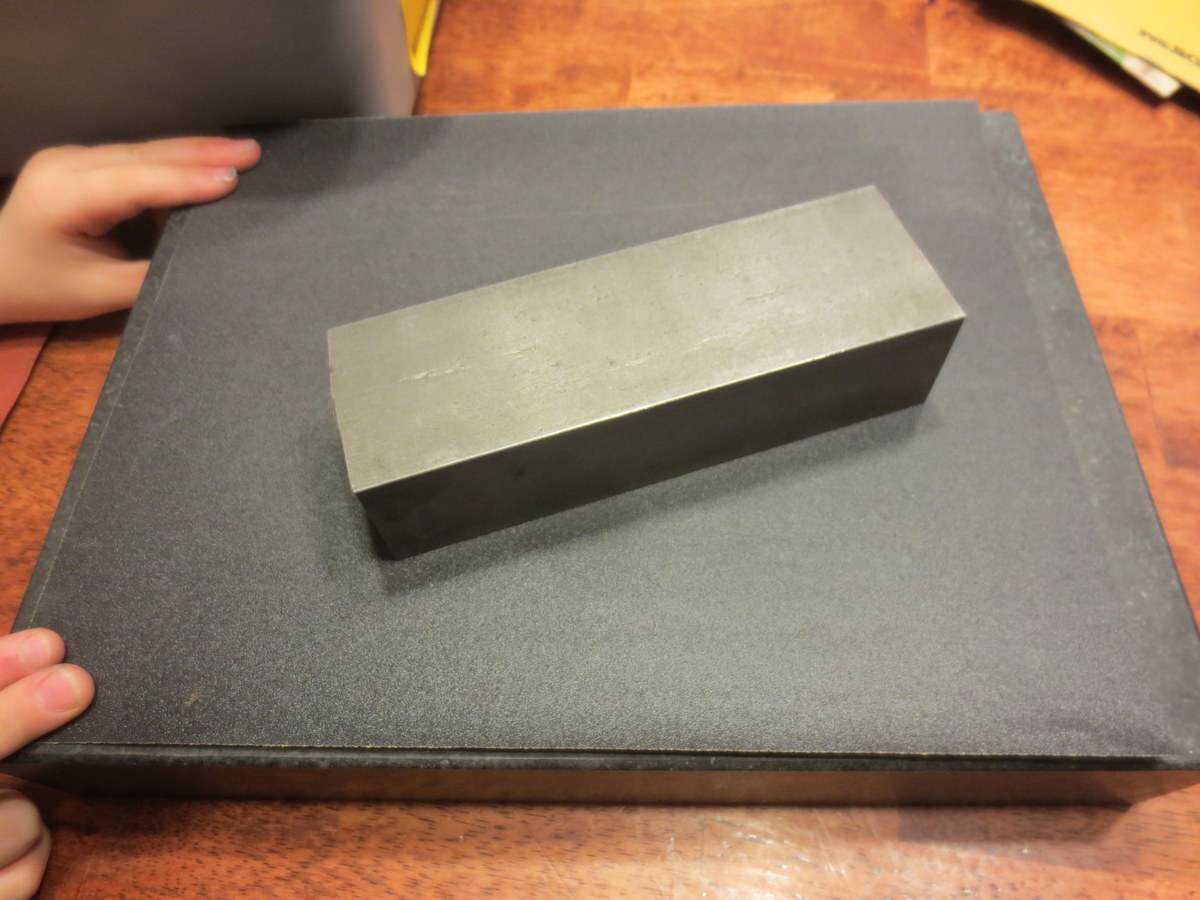
Enough is enough. A Mitutoyo Digital Indicator, a Starrett Indicator Holder, a Precision Granite Surface Plate, and time to figure this out.
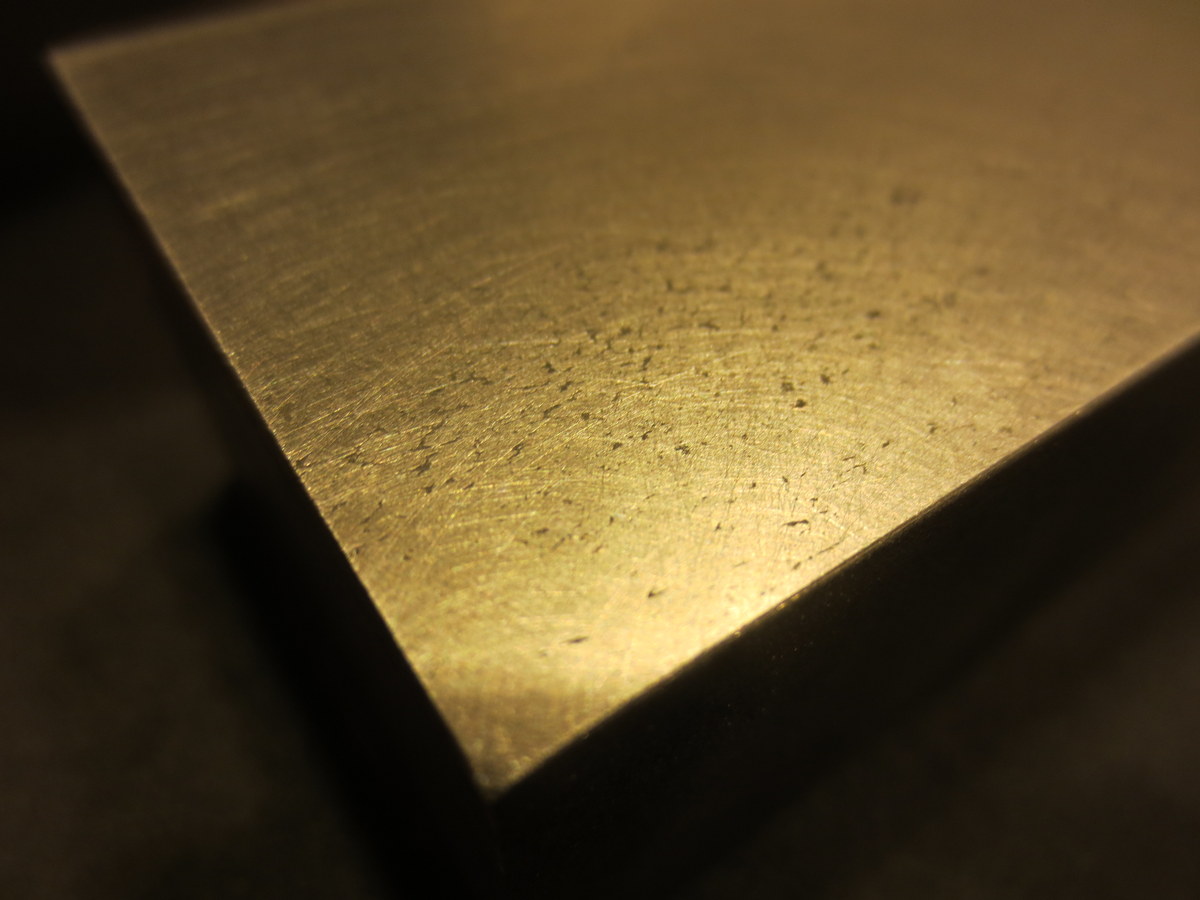
While there are more conventional ways to do this, I did not have the right equipment. So I took a steel bar and flattened it on a granite surface plate with sandpaper (60 – 2000 grit). It ended up with a very flat mirror finish on the bottom.
I did not take the time to get all of the pits out of the steel, but here is a closeup of the steel after sanding:
Next I measured out a grid on the Acrylic Build Plate. 
Using the digital indicator mounted to the steel block, I was able to take height measurements on the grid.

Here is a wider view, including my high tech data collection process.
Note: I did this with both the Acrylic OEM plate and a Glass Aftermarket Plate.
Once I had the data points collected, I made an exaggerated model in Sketchup, and plotted the points in 3D.

The one that is wildly out of specs is the Acrylic, and the one that has a slight dip in the middle is the Glass.


Both plates were fairly warped in my opinion. The glass was a lot more workable. I eventually bought a CNC machined aluminum plate, but did not take the time to measure it in this same way.
I feel that the manufacturers of low end 3D printers are not paying enough attention to the stiffness of their 3-Axis mechanisms. While a FDM printer does not (should not) experience side or vertical loads during disposition, they still need to be fairly immune to vibration and even the weight of the build plate.
This was a MakerBot Replicator II – an obvious improvement over the MakerBot Replicator, and I’m sure they will continue to improve this aspect of 3D printing.
The CAMaster Cobra 508 has arrived! And I have a helper.

Several years ago when I started using nginx, I was under the mistaken assumption that
server_name _;
was a wildcard server name and would be used if no other server names matched.
Nope.
I made a change on a production system, adding a new site on an existing IP address. What harm could that cause, right?
After several clients quickly and graciously notified us that the wrong site was coming up when you visited their domain, I quickly tracked the problem down.
First you need to realize that server_name _ is actually not special. It is just a non-match.
Second you need to realize that in the event of no matches, nginx will select the first server{} block and use that.
This means that the ORDER of your server blocks is critical if you are using `server_name _;`.
In our case, the order was incorrect, and my new domain was picking up all requests for that IP address. I tell this because I believe a number of system administrators have this incorrectly configured and waiting to bite them.
There is a better way.
The nginx `listen` directive includes a `default_server` option that looks like this:
server{
   listen 1.2.3.4:80 default_server;
   ...
}
From http://wiki.nginx.org/HttpCoreModule#listen
If the directive has the default_server parameter, then the enclosing server {…} block will be the default server for the address:port pair. This is useful for name-based virtual hosting where you wish to specify the default server block for hostnames that do not match any server_name directives. If there are no directives with the default_server parameter, then the default server will be the first server block in which the
address:portpair appears.
The moral of the story
It is better to use the correct mechanism (above) than relying on a single non-matching server_name.
I hope someone finds this useful!
Reference: http://stackoverflow.com/questions/9454764/nginx-server-name-wildcard-or-catch-all
Talking about the MakerBot Replicator 2 3D Printer
Last post I talked about what happens when the nozzle is too far away from the build plate when you are starting a build. This post will discuss what a proper distance looks like.
Remember proper setup:
The print in this discussion was standard quality. I slow it down a little bit to 70mm/sec during printing. I find the MakerBot doesn’t shake so much at the expense of slightly longer print time. I also heat it up a little to 235C which seems to be helpful for me.
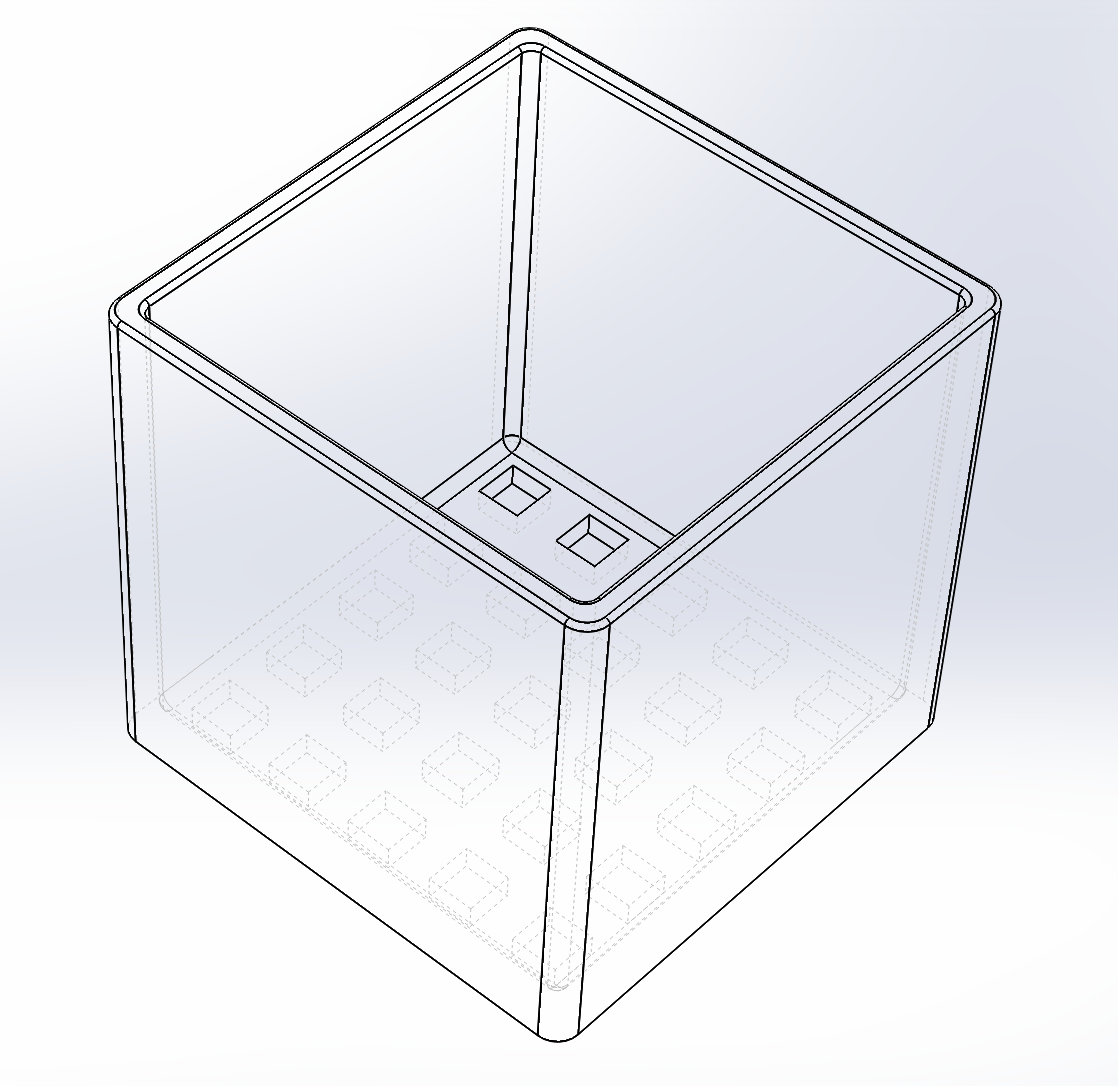
Here is what we are building (at a whopping 110mm x 110mm x 100mm):
This is a good sign that the print is getting off to a good start. See how each outline is nicely pressed flat, but no scraping is apparent?

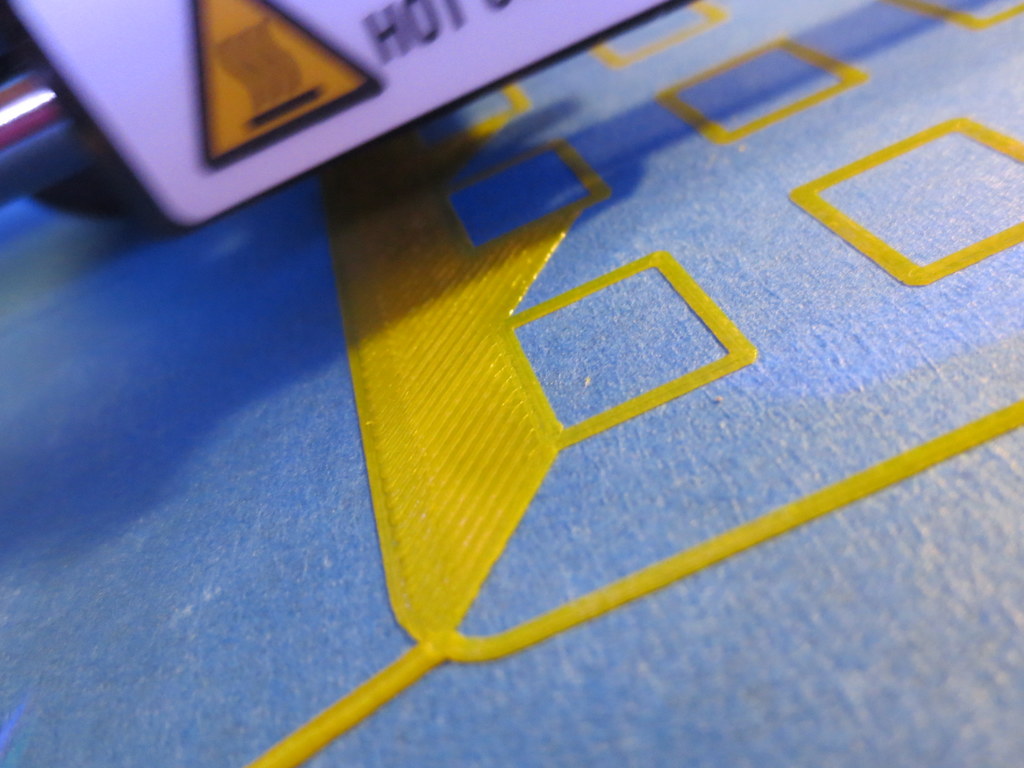
This is the front-left corner, the first printed. Notice how with few exceptions, each line is flattened just enough to merge into the adjacent line?

This is the front-right corner. The build plate must be too low here (not level) or the machine is out of alignment. You can see the nozzle isn’t close enough. What this might result in is a slight lift on a large part, but it is unlikely it will break away and cause problems.

This is the beginning of the second layer, and the time I left for 6 hours. I was comfortable that little would go wrong with the print at this point. Layers adhering correctly, build adhering correctly.

Here is a side-view of the print in progress. This is 0.20mm layer resolution, and it looks fine.

Here is a top-view of the same.

Here is the finished build:

This is stuff I have figured out by trial and error, so I hope these pictures help!
Get a good putty knife, because with the above method, the print will REALLY stick to the platform. I’d rather it over-stick to the tape than come off and fail (possibly breaking the printer).
I was using a piece of foam rubber under my Arduino for the Marble Roller project. Not so nice, right?
Having a brand new MakerBot Replicator 2 on my desk, I decided to, well, make a nice bumper (or 3).
No design time needed as someone else did the hard work: http://www.thingiverse.com/thing:26237
Printed out wonderfully. Fits perfectly.


An update on the MMZ Arduino Marble Roller project. We got the mechanics in place and a reliable system for transferring the marble to the top of the ramp via servo motor.
Because it is the job of the servo motor to simply move the platform up and down as opposed to accomplishing significant amounts of work, we counter balanced the ramp with a spring to assist the servo in lifting it.
Eli does a great job explaining it in this video:
Today we devised a way to (hopefully) raise the marbles from the bottom of the track to the top using a servo motor. It is rather obvious at this point that we did not plan our initial track high enough and the end of it is too low. Oh well, version 1 is usually that way, right?

I got a cool little 4-wire bipolar stepper motor and wanted to drive it via Arduino.
I based the design on this reference:
http://arduino.cc/en/Reference/StepperBipolarCircuit (credit for following image belongs there as well)

Here is how it looks for real. Kind of a mess of wires, but you know what? It works great.

The kids and I are building a Arduino powered marble roller. It is a “demo” project for us to learn how to use servos, steppers, input, output, lights, transistors, h-bridges, and so on and so forth.
Hot-glue and foam-board are a great prototyping material!


