Brazilian Cherry Butcher Block Cutting Board

Here are a couple of pictures of a recent Sinking Valley Woodworks project: a Brazilian Cherry Butcher Block Cutting Board.

It’s solid end-grain, glued up with Titebond Ultimate, and sanded down to 2000 grit.  It simply has mineral oil – the gloss is from the wood itself.

What do you think?

Here is the finished product.

Closeup of Brazilian Cherry Butcher Block Cutting Board

Notice how glossy the top is?  That’s what happens when you take Brazilian Cherry end grain to 2000 sanding.

Side View of Brazilian Cherry Butcher Block Cutting Board

The swirls in the grain pattern were intentional.  As the pieces were glued up, the grain was alternated creating a very neat final pattern.

Top View of Brazilian Cherry Butcher Block Cutting Board

Here is a closeup of the grain.

Closeup of Brazilian Cherry Butcher Block Cutting Board Grain

This is prior to any mineral oil being applied.  Notice the reflection of the light that is 9′ above the surface.

Pre Finished Brazilian Cherry Butcher Block Cutting Board

I-Beam clamps.  They are great.

Glue up of Brazilian Cherry Butcher Block Cutting Board

Building Plywood Shelves

“A place for everything and everything in its place”

http://www.phrases.org.uk/meanings/14400.html

It is an ongoing chalenge to find a proper place to keep everything.  But in that lies the key to being organized.  It is fairly easy to put everything away when everything has an “away” to be put into.

In an effort to implement that, we decided to use an otherwise useless corner of the dining room to make shelves for bins and books.  Rubbermaid makes some really nice bus boxes which are sold at Sams Club.  They look like this:

imgres

This is one of the few actually nice storage-related items you can purchase nowadays.  The quality is second to none.  It is an impressive (proper) use of plastic.

Because I lack a dust collection system, all of the routing and cutting was making the shop too dusty to be in comfortably.  So we went outside.

IMG_2773

All of the sanding was done by hand (Thank you ELI and EZRA):

IMG_2772

The shelves were constructed of 23/32″ SandedPly plywood from Home Depot (about $45/sheet).  I ran out of that and used an alternate USA made maple-faced hardwood plywood for one of the shelves.  You can really see the difference.  We routed a groove for each shelf using an aluminum guide, palm router, and 3/4″ bit.

IMG_2836

They were stained with MinWax Espresso stain.

IMG_2837

Predrilling really helps smooth the assembly process.  Notice the metric ruler?  More on that later.

IMG_2840

Because the shelves are not designed to disassemble, they were screwed together and then slid into place and screwed to the wall.

IMG_2841

And the result was great.  As you can see, a secondary bookshelf is integrated to help keep the growing collection of schoolbooks.

IMG_2844

And as per the usual tradition at our home, a bit of “alternate” use before we start with the real use:

IMG_2847

A new stock for rubber band gun #6

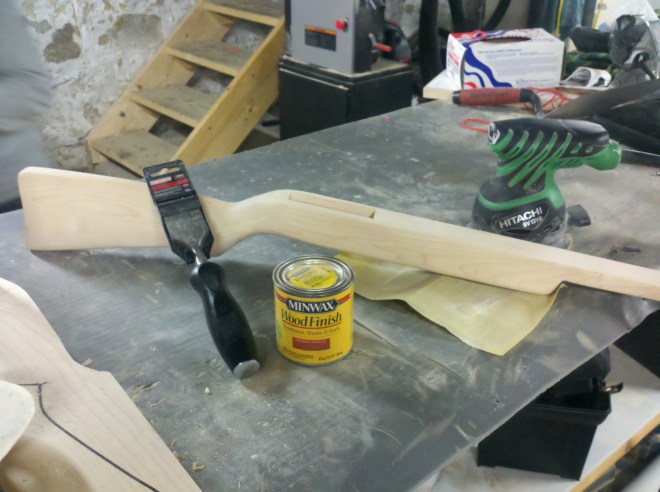
In anticipation of receiving the assembly for Rubber Band Gun #6 from Dixon Tool and Die, Inc., we have been making a new rubber band gun stock to complete the package.

This stock was hand crafted out of solid 1.75″ x 6.0″ x 48″ slab of maple.  The primary tools were bandsaw (for the profile), hammer and chisel, random orbit sander, end mill, jointer, sand paper, and lots of elbow grease.

There is a technique that we implemented called “raising the grain”.  It involves rubbing the wood with a wet rag, and then letting it dry.  Loose pieces of grain swell up and in turn raise up out of the wood, where they can be sanded off.

At the bottom-left corner of this photo, you can see another blank ready to be cut.

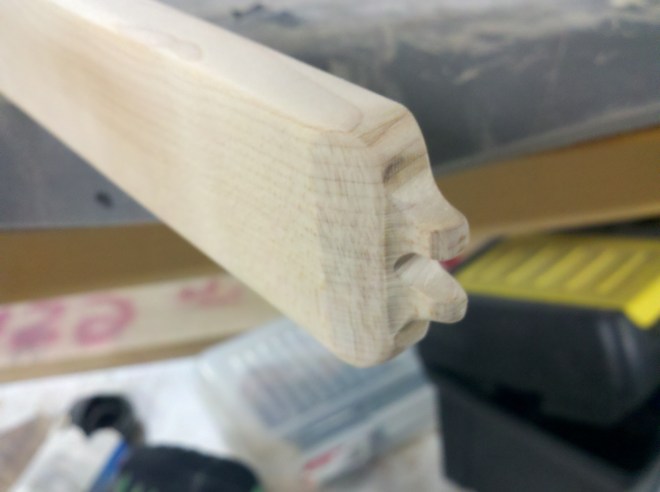
A lot of thought and testing went into this simple design and it works really well.  The catch (no pun intended) is to allow the rubber bands to release cleanly with no interference.

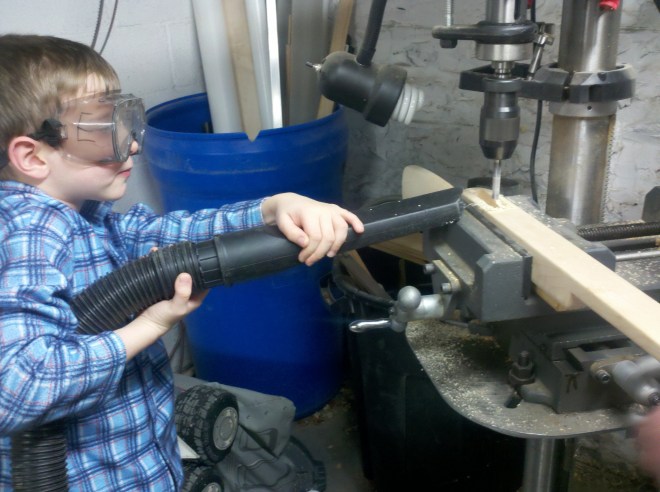
Here is Mr. E holding the shop-vac to keep the end mill from clogging up.  My Sherline milling machine is not large enough to hold this stock conveniently, so we used a drill press and cross-slide vice to mill it out.  Drill presses are not as rigid as milling machines, so we had to take it slow.